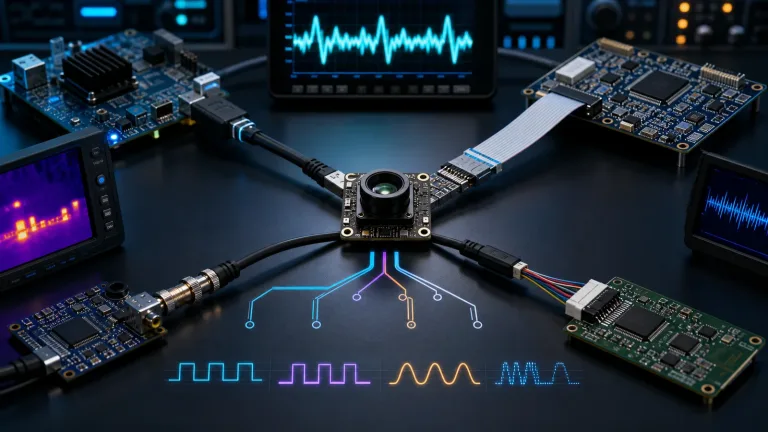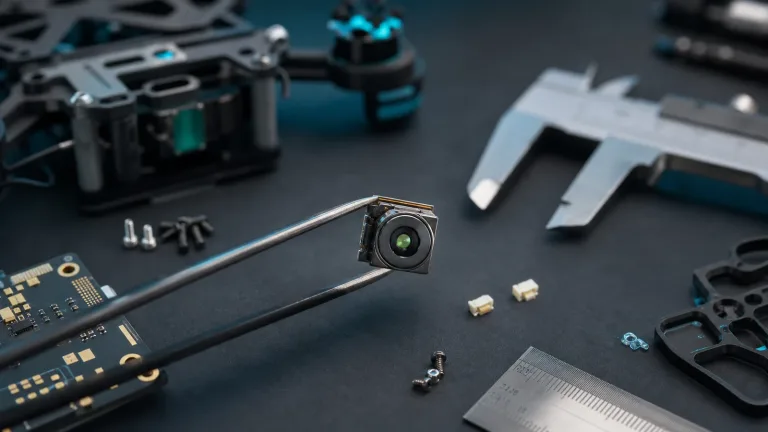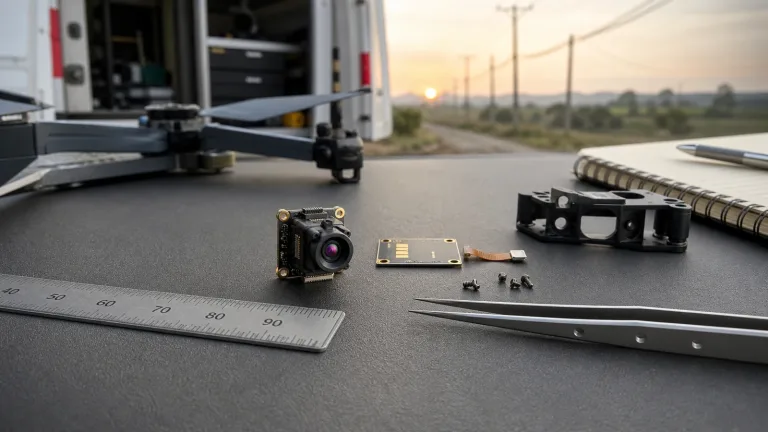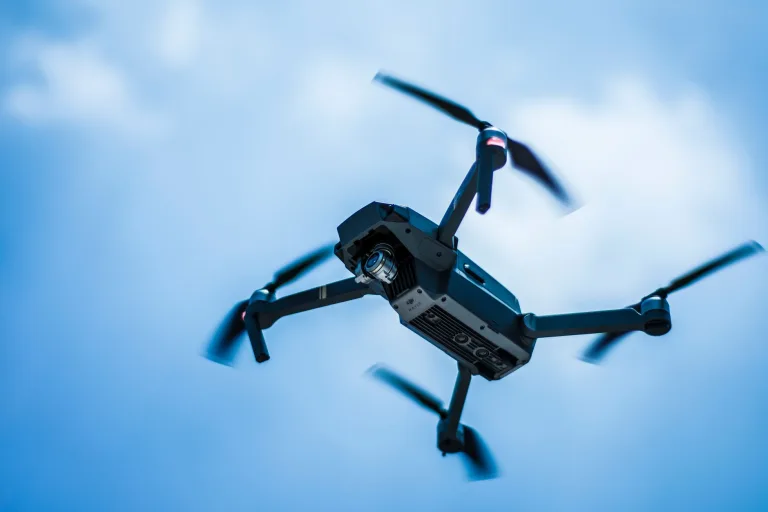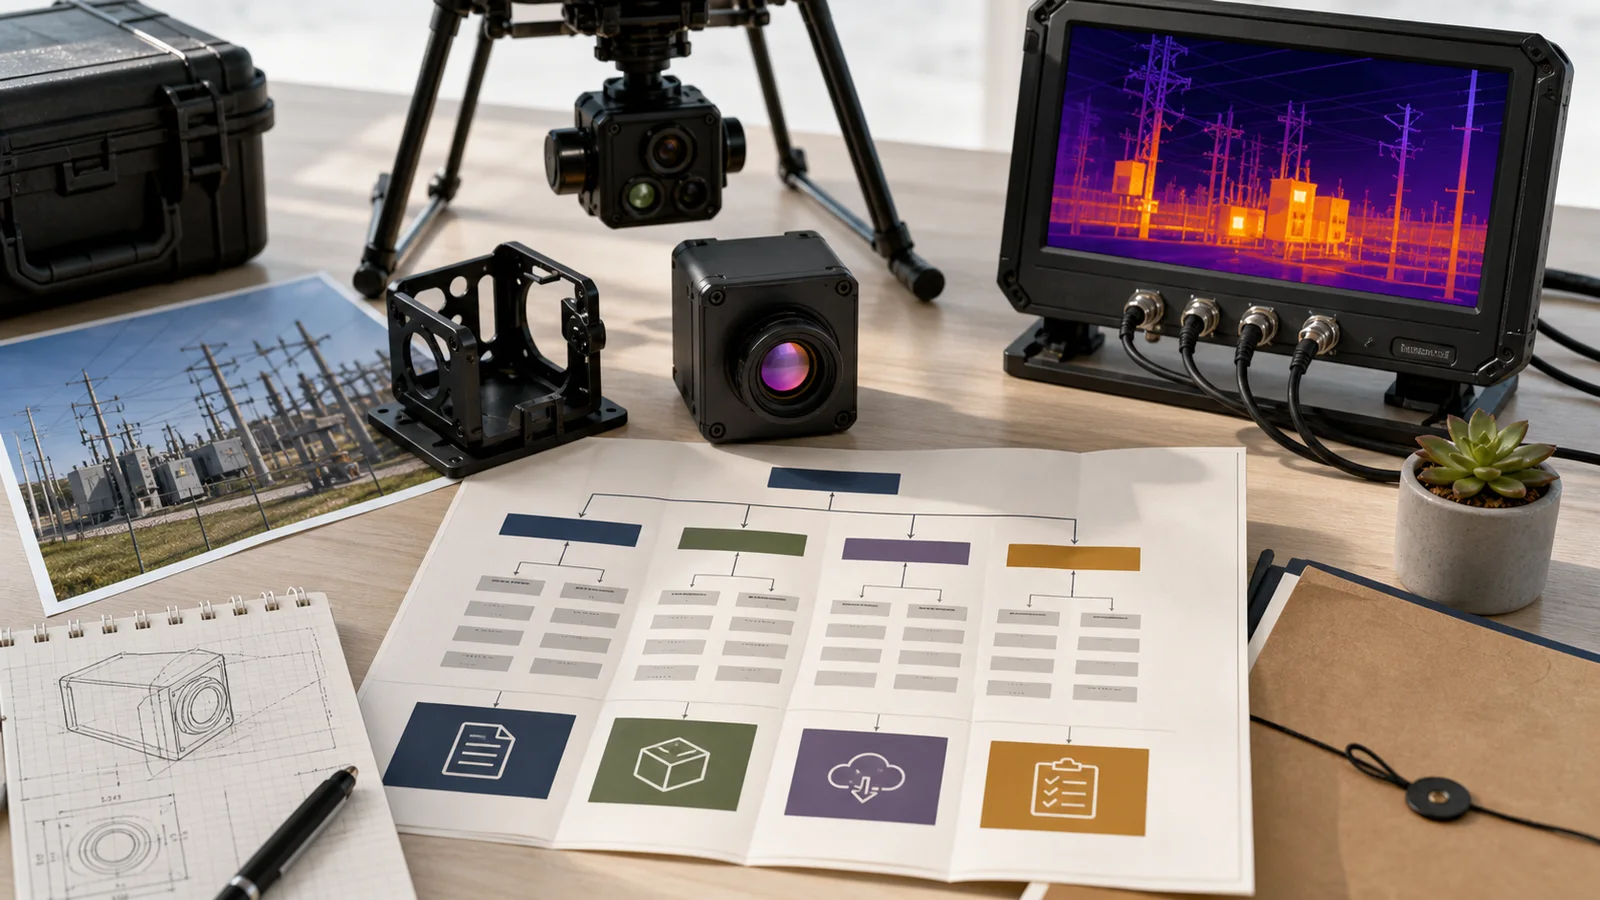
thermal imaging module: 4 page-map decisions before an outdoor or UAV RFQ
A thermal imaging module RFQ gets better when the buyer starts from the deployment page, not from a loose spec phrase. One engineer may be thinking about a drone payload, another may be thinking about a fixed outdoor monitoring cabinet, and procurement may only see the same 640 × 512 line item. If those three people use the same request wording, the supplier has to guess the mission.
Use four page-map decisions to move from research to a quote: choose an application page for the deployment scene and product class, a product page for the module configuration, the matching official documents and support resources for integration, and the contact page for RFQ handoff. Each step answers a different question before the buyer commits to a sample.
Quick answer
Before choosing a thermal imaging module, map the project to four pages: the right application page, the Featured module page, the support/download page, and the RFQ page. For UAV work, start with CAMCUDA’s drone thermal camera application page. For outdoor projects, use the outdoor and field observation page to choose between a finished handheld viewing device and a module for your own enclosure and host. For fixed cabinet or pole-mounted monitoring, specify mounting, sealing and service access separately in the RFQ. Then use the featured AeroMini 640 as the primary module reference and SuperMini 640 / 640T as a bare-core comparison. Confirm the selected version, interface board, CVBS needs, matched documents and any NDAA-related document request before sampling.
Thermal imaging module page-map decisions before the RFQ
The first decision is not detector resolution. It is the page a buyer should open after the search result. A thermal imaging module for a multirotor payload and a module for a pole-mounted outdoor monitoring box may share detector language, but they do not share the same constraints. One worries about payload weight, flight vibration, and pilot viewing. The other worries about enclosure temperature, weather exposure, service access, and site documentation.
Choose the application page that matches the installation before narrowing the product. A UAV engineer needs to establish payload workflow before comparing modules. A security integrator needs the fixed-site requirements for a perimeter cabinet. Once the mission is clear, use the product page to select the hardware, then request the matching documents before sending the RFQ.
The same principle shows up in external industry writing. LightPath’s LWIR explainer is useful because it frames long-wave infrared as a system choice, not just a buzzword. In a different corner of the market, FLIR’s commercial drone inspection material keeps the mission visible while it talks about thermal payloads. For CAMCUDA buyers, the takeaway is simple: use the page map to keep the mission visible while the product facts get specific.
Selection chart: pick the page before you pick the module
A buyer who can name the relevant application and product pages is usually closer to a useful RFQ. The table below turns that into a practical planning tool.
| Buyer moment | Start with this page | What the page should clarify before RFQ |
|---|---|---|
| A UAV team is moving from bench thermal video to a payload bracket | Drone thermal camera applications | Payload weight, live-view path, vibration, recorder expectations, and whether the pilot still needs analog viewing |
| A utility or security team wants outdoor monitoring in a cabinet or pole-mounted housing | Outdoor and field observation: finished viewer or OEM module path | Choose the product class first; for a cabinet or pole-mounted OEM build, separately specify enclosure protection, mounting, temperature limits and service access in the RFQ |
| Engineering is ready to compare exact module facts | AeroMini 640 product page; compare SuperMini 640 / 640T for bare-core integration | Imaging versus temperature measurement, frame rate, complete-assembly size and weight, board-specific video/control paths, and matched documents |
| The team wants broader product context before choosing a sample | Thermal imaging cores category | Whether the project needs a compact core, a higher-resolution option, or a different finished observation device |
| Procurement needs the support packet, not only the product link | Support downloads and contact / RFQ | Matched drawings, interface references, destination market, and exact-configuration NDAA-related documents for procurement review |
Featured thermal imaging module facts for this page-map workflow
CAMCUDA currently features AeroMini 640 and SuperMini 640 / 640T. AeroMini is the primary reference here for a configured interface-board route; SuperMini is a separate bare-core comparison for tighter space and weight limits. A thermal imaging module product page gives engineering the configuration facts needed to move from an application page to an RFQ. Featured status does not establish stock or delivery for every variant.
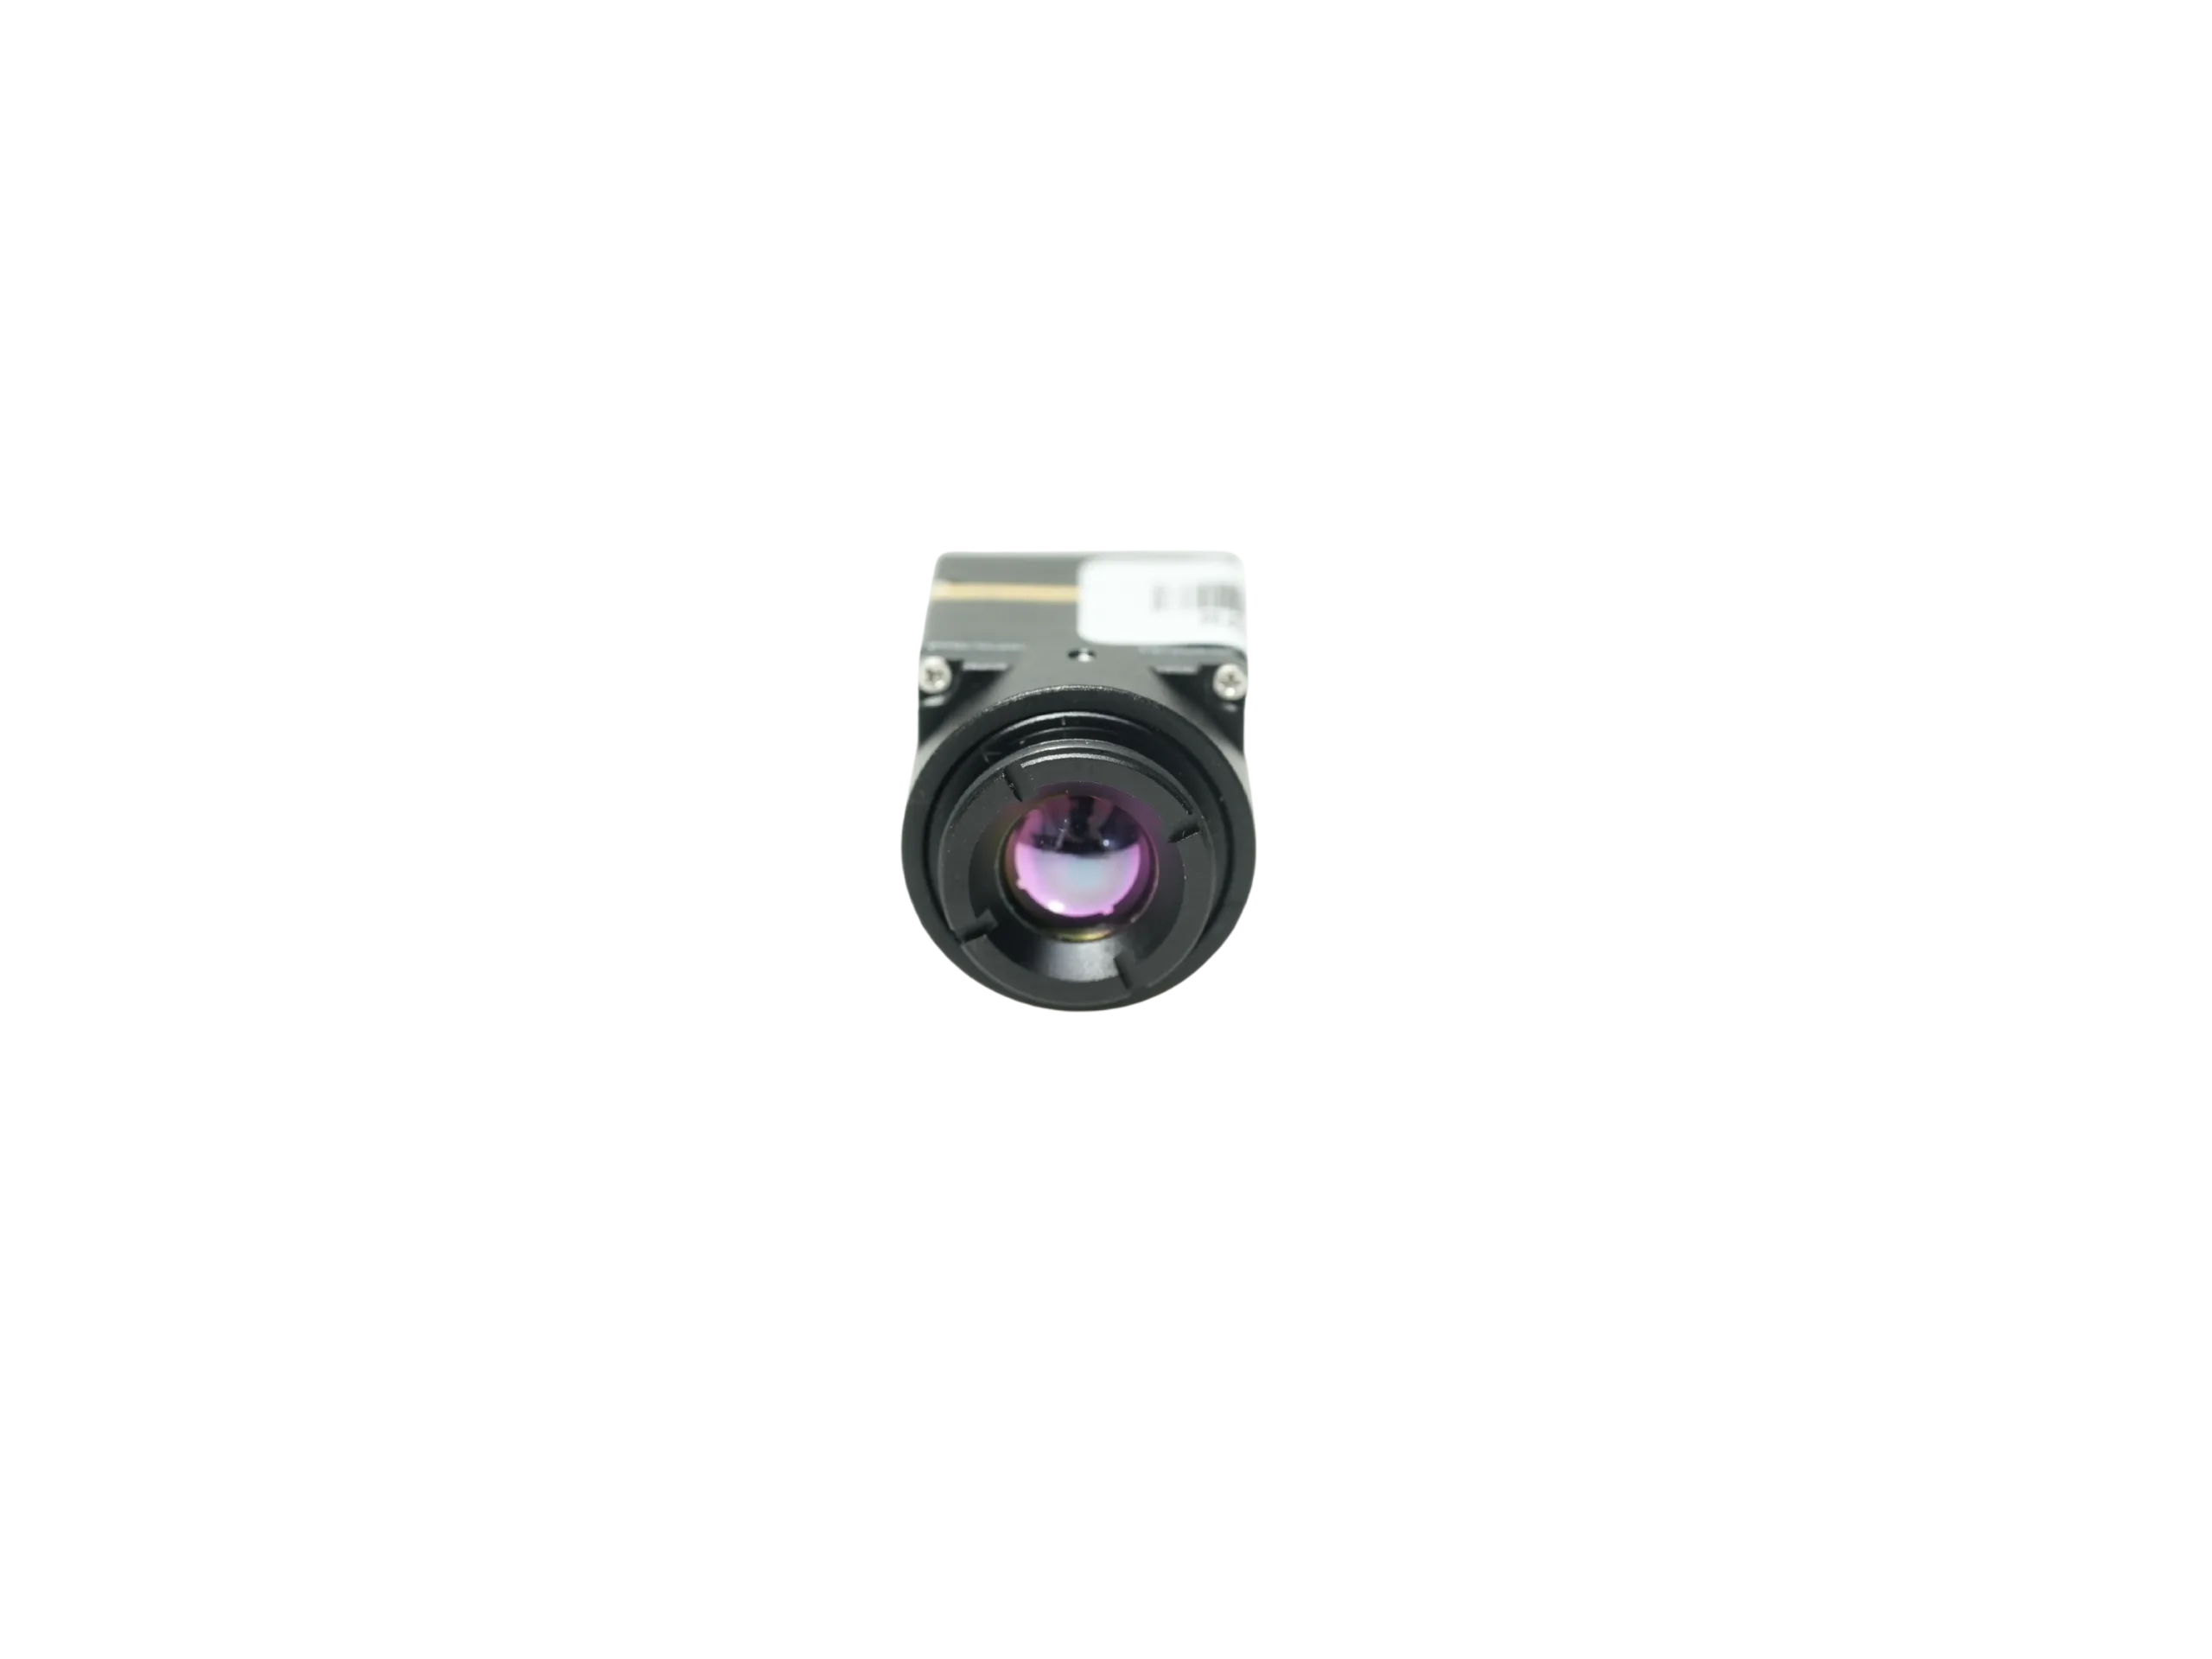
| Product | CAMCUDA AeroMini 640 |
|---|---|
| Configuration quotation | Confirm camera version, frame rate, lens, interface board, supplied items, quantity and delivery terms in the quotation |
| Detector type | Vanadium oxide uncooled infrared focal plane detector |
| Resolution | 640 × 512 |
| Pixel pitch | 12 μm |
| Spectral range | 8–14 μm |
| NETD | ≤30 mK at 25°C, F/1.0 |
| Frame rate by version | Non-radiometric: 60 Hz default / 30 Hz factory option; radiometric: 25 Hz, availability enquiry only |
| Power | Typical module consumption <0.5 W at 25°C; complete-kit consumption may differ. The illustrated POWER_IN1 / POWER_IN2 inputs are 5 V; do not apply 12 V |
| Interface-board choice | USB + CVBS + MIPI or Type-C + CVBS; distinct tailboards, with output format, rate and host compatibility to be confirmed |
| Communication | UART / RS232 / RS422 availability is board-dependent; the illustrated 16-pin reference labels RS232 |
| Analog note | CVBS output depends on the selected board; confirm the required monitor or recorder path during RFQ |
| Weight and size | <20 g; 21 × 21 × 28 mm, excluding lens and flange |
| Temperature limits | −40°C to +80°C operating; −50°C to +85°C storage. These module limits do not qualify the final outdoor enclosure |
Notice what this table does not do. It does not decide the lens, enclosure, host board, or field workflow by itself. A thermal imaging module table is a handoff point. It tells the buyer what can be anchored in the RFQ and what still needs application-specific confirmation.
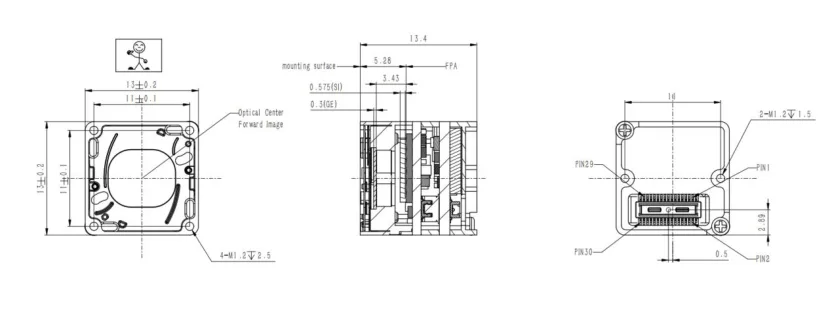
For a bare-core comparison, SuperMini 640 / 640T uses a 640 × 512 detector with 8 μm pixels and NETD ≤40 mK at 25°C, F1.0. SuperMini 640 is imaging-only at 50 Hz; 640T is thermographic at 30 Hz. Its 13 × 13 × 13.4 mm dimensions and <3.5 g weight exclude optics and boards; typical core power is ≤0.5 W at 25°C, excluding the expansion board. These are bare-core figures, not a finished camera-kit envelope or power budget.
Application handoff: choose the UAV or fixed outdoor path
A product manager may say “we need a small thermal module,” but the field engineer can mean two different things. For the drone team, “small” means the payload bracket does not steal flight time or overload the gimbal. For the outdoor monitoring team, “small” may mean the module can live inside a serviceable housing while the operator still gets a usable scene at night or in poor visibility.
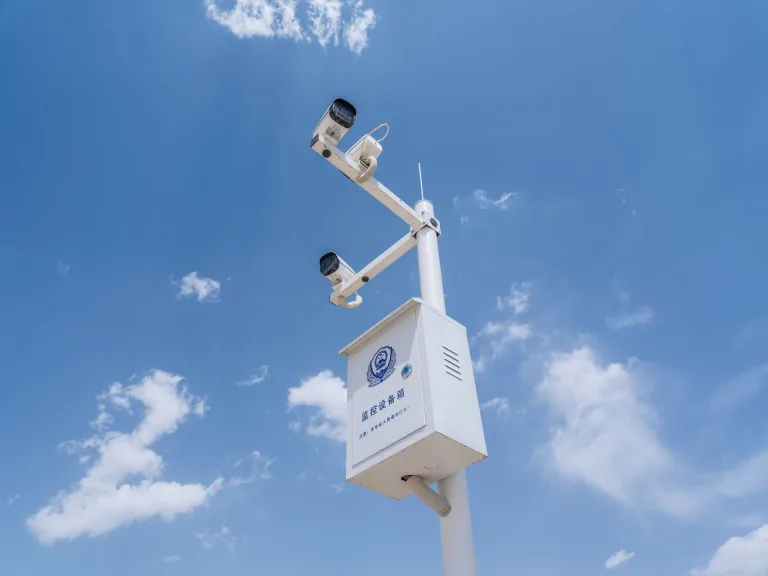
For airframes, payload brackets, pilot viewing, downlink, or utility inspection flights, use drone thermal camera applications to define the flight-side requirements. For outdoor work, use outdoor and field observation to decide between finished handheld equipment and a module for your own enclosure and host. A fixed perimeter cabinet or pole-mounted system follows the OEM path: specify its mounting, sealing, thermal environment and service requirements separately. Do not assume an exposed module is weatherproof. If one project includes both a flying payload and a fixed station, describe them separately in the RFQ.
Use standards references to understand the host-side choices. USB-IF’s Video Class documentation gives context for USB video transport. MIPI CSI-2 information gives context for an embedded host-board interface. Neither source proves a CAMCUDA product claim or compatibility with a particular host; use the selected product’s documentation to confirm those details.
A realistic mistake: the RFQ says “outdoor drone project” and nothing else
That phrase sounds specific, but it hides the real split. Is the buyer asking for a drone payload that flies over substations? Is it a fixed outdoor monitoring system near a yard? Does the operator need a live service monitor? Will the host board capture USB video, or is a legacy recorder still in the chain? A useful thermal imaging module RFQ turns “outdoor drone project” into separate decisions: flight path, fixed-site path, video path, control path, documentation path.
Interface decisions: confirm the board, video path and control link early
Interface language should appear before the sample order. The AeroMini product page distinguishes the USB + CVBS + MIPI tailboard from the Type-C + CVBS tailboard. Choose the board for the host, monitor and control wiring. UART, RS232 and RS422 availability is board-dependent; the illustrated 16-pin reference labels RS232, so it does not establish RS422 support. Use the AeroMini datasheet with the matching board: PDF page 3 covers the 16-pin USB/CVBS connection and page 4 the 26-pin MIPI/DVP connection. Neither is a Type-C-board wiring guide. POWER_IN1 and POWER_IN2 are 5 V inputs; do not apply 12 V to those pins.

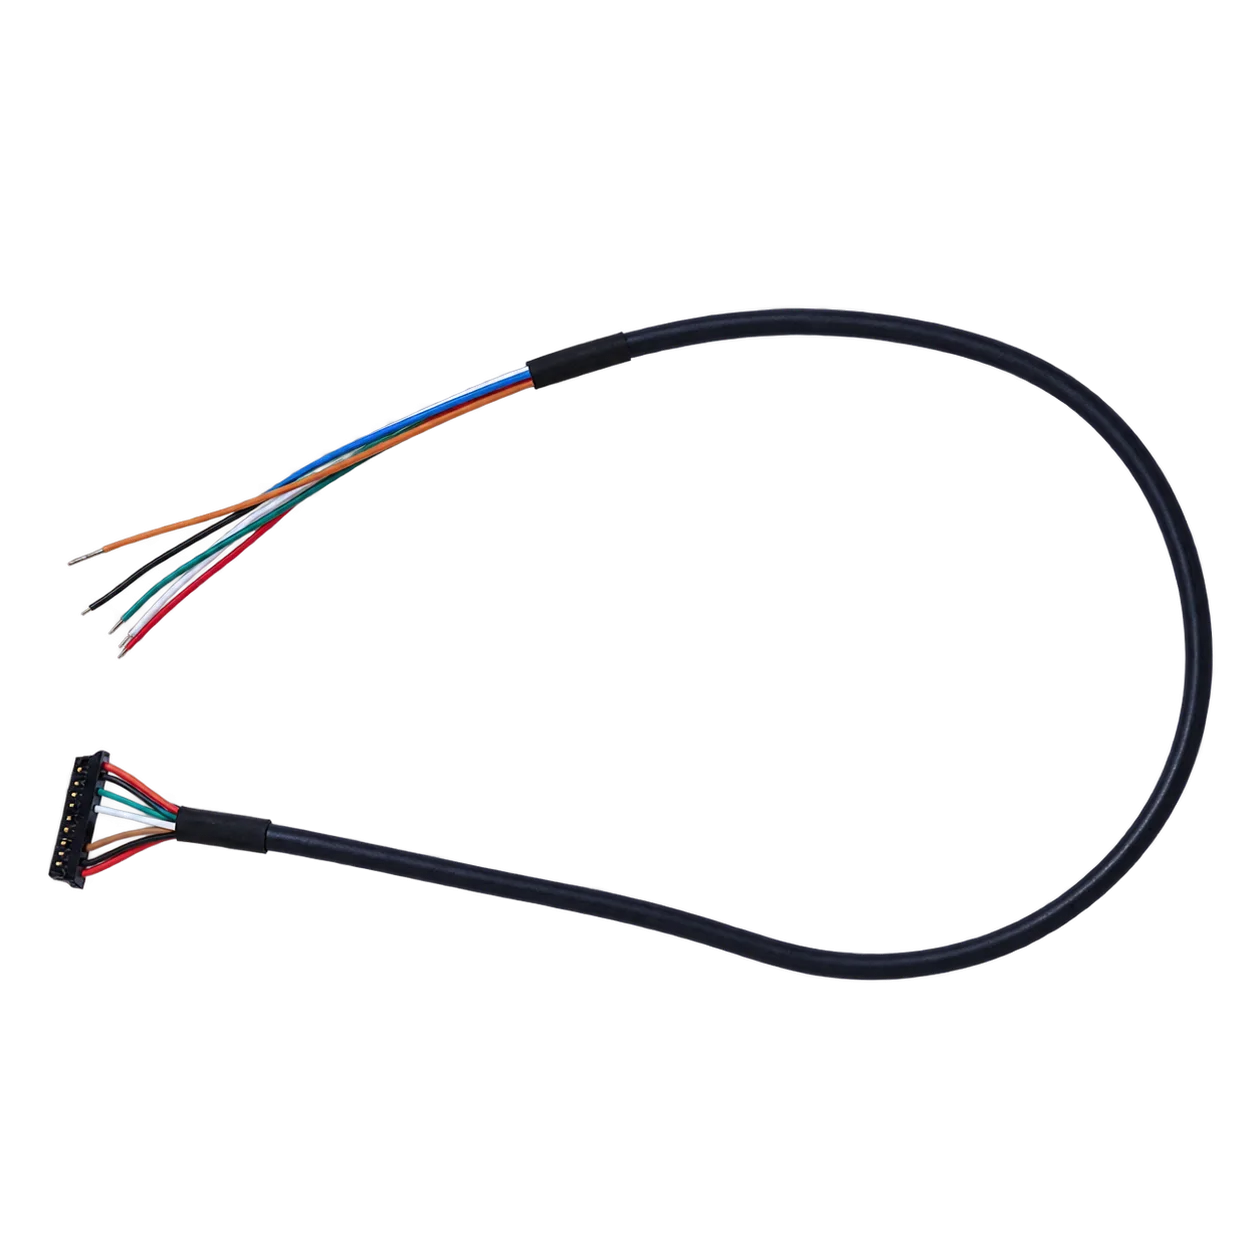
CVBS belongs in the conversation only when the workflow needs it. A drone payload may still need analog video for a low-friction pilot monitor or recorder. A field monitoring cabinet may need compatibility with an existing service display. In those cases, use careful RFQ wording: CVBS analog output on applicable configurations, and confirm during RFQ. Do not assume every module configuration ships with every interface by default.
This is also where a buyer can reduce back-and-forth by linking the right pages in the inquiry. For example: “We are reviewing AeroMini 640 for a drone payload described on your application page. We need USB capture and an analog service monitor. Please confirm the camera version, selected tailboard, output format and rate, CVBS path, control interface and matching wiring documents.” For host software, use the AeroMini Linux drivers, examples and SDK FAQ and request resources for the exact board, firmware and host. These resources are specific to AeroMini; they do not establish a SuperMini software path.
RFQ packet: connect the application, product and documents
A better RFQ is not longer for the sake of being long. It is simply more anchored. The buyer can name the application page, the product page, the support document need, and the procurement context. That lets CAMCUDA answer with fewer assumptions.
| RFQ line | Useful detail | Where it comes from |
|---|---|---|
| Application | Drone utility inspection, outdoor perimeter monitoring, industrial field service, or another named scene | Relevant application page |
| Module baseline | AeroMini 640 with camera version, frame rate, lens and tailboard; or a separately specified SuperMini 640 / 640T bare-core build | Selected product page and configuration |
| Video and control path | Host processor and OS, USB or embedded video, required format and rate, board-specific serial control, and any CVBS monitor or recorder | Product page plus buyer workflow |
| Documentation | Configuration-matched CAD, wiring guide, manual and software resources; request exact-configuration NDAA-related documents and procurement review | Support downloads and contact / RFQ handoff |
| Decision deadline | Sample date, prototype date, production estimate, and who will review the live image | Buyer project reality |
Common mistakes this page-map approach avoids
First, it avoids using a broad term like thermal imaging module without saying where the module will live. Second, it separates UAV payload constraints from fixed-site enclosure requirements. Third, it checks interface and mechanical claims against the selected configuration’s official documents. Fourth, it moves compliance and NDAA-related document requests earlier for procurement review; a request or product listing does not guarantee document availability or project eligibility.
Turn the page map into a cleaner RFQ
Start with the relevant application context: drone thermal camera for UAV payload work or outdoor and field observation to choose finished handheld equipment or the OEM module path. For your own fixed-site build, include enclosure protection and mounting requirements in the RFQ. Next review AeroMini 640, with SuperMini 640 / 640T as a bare-core comparison. Gather the matched product documents through the product page and support downloads, then contact CAMCUDA for a configuration-specific RFQ.
FAQ
Why start with an application page before choosing a thermal imaging module?
The application page helps define where the module will work and what the operator needs. Use the product page next for the exact configuration, then the matching documents and support resources before sending the RFQ.
Do I need both the UAV and outdoor field application pages for my RFQ?
Use both when the project includes a flying payload and an outdoor field system. The outdoor page helps choose a finished handheld device or the OEM module path; for your own fixed installation, add the enclosure and mounting requirements separately. For a single deployment type, use the page that matches that mission.
When should I use the drone thermal camera page?
Use it for UAV payloads, flight workflow, gimbal or bracket planning, pilot live view, utility inspection flights, or drone video transmission.
When should I use the outdoor and field observation page?
Use it to choose between a finished handheld viewing device and a thermal module for your own enclosure and host. Its checklist covers viewing distance, environment, recording and power. For a fixed cabinet or pole-mounted OEM project, write the protection, mounting and service requirements into the RFQ; an exposed module should not be assumed weatherproof.
How should I compare AeroMini 640 with SuperMini 640 / 640T?
AeroMini offers a configured tailboard route: 12 μm pixels, 60 Hz non-radiometric default or 30 Hz factory option, and 25 Hz radiometric availability enquiry. SuperMini is a separate 8 μm bare-core route: 640 imaging at 50 Hz or 640T thermography at 30 Hz. Compare the complete lens, board, cable, power and host requirements rather than treating bare-core dimensions as the finished assembly.
Why mention CVBS if USB is already listed?
USB can be a useful evaluation and video path, but some projects still need an analog monitor, recorder, or legacy service display. Confirm the CVBS path for the selected AeroMini tailboard. For a SuperMini bare-core design, CVBS requires an external video-buffer IC; consult the SuperMini manual rather than applying AeroMini wiring references.
Where does the NDAA statement fit in the page map?
Include the request with procurement and documentation requirements in the RFQ. Ask for NDAA-related documents for the exact proposed configuration, and have procurement review their scope and suitability. Do not assume that featured status guarantees document availability or eligibility for a particular project.
Which sources should I use to verify interface and integration claims?
Start with the selected product page and its official manual, wiring references and configuration-matched support resources. USB-IF and MIPI standards explain the interface context; they do not establish a particular CAMCUDA board’s compatibility. Use application references to define the mission, then ask support to resolve any gap before ordering.