hd thermal camera core: 5 Reliable Decisions Beyond 640 x 512
Engineering memo for OEM thermal integration
hd thermal camera core: 5 Reliable Decisions Beyond 640 x 512
An hd thermal camera core can look convincing on a datasheet and still create a late payload problem. The usual buyer moment is not dramatic: an engineer opens the sample box, measures the module against the bracket, checks the video path, and realizes that “640 x 512” answered only one of the questions.
Quick answer
If you are sourcing an hd thermal camera core for a drone payload, embedded vision product, or outdoor inspection device, treat resolution as the starting point. Confirm module size, lens/FOV path, interface output, power and heat budget, control interface, documentation, and procurement wording before you order the sample. Start with CAMCUDA AeroMini 640: 640 × 512 LWIR imaging, 12 μm pixels, 60 Hz default or a 30 Hz factory option, and ≤30 mK NETD at 25°C, F/1.0. Compare SuperMini 640 when a smaller bare core matters. Select the lens and interface board, and confirm complete assembly size, mass and power; the imaging-only versions do not provide calibrated temperature readings.
Why an hd thermal camera core decision starts after resolution
The phrase hd thermal camera core often gets used as shorthand for “high resolution thermal module.” That shorthand is useful during early sourcing, but it can hide the details that decide whether a sample becomes a repeatable product. A 640 x 512 image may be the right target, yet the final design can still fail if the host board expects a different output, the bracket leaves no room for the lens path, or procurement asks for documentation after the engineering team has already committed to a mechanical layout.
Current industrial vision coverage from NVIDIA’s industrial AI reporting keeps pointing to the same systems problem: cameras, edge processors, workflows, and operators have to work as one system. A thermal module buyer should read that as a warning. The core is not just a sensor. It is part of a video chain, a control chain, a physical enclosure, and a procurement file.
Micron’s explanation of computer vision in manufacturing is also a useful reminder that image data becomes valuable only when the system can process and act on it. For an hd thermal camera core, that means your decision should include where the video goes, how control commands are sent, whether the edge device can handle the stream, and what the operator needs to see in real conditions.
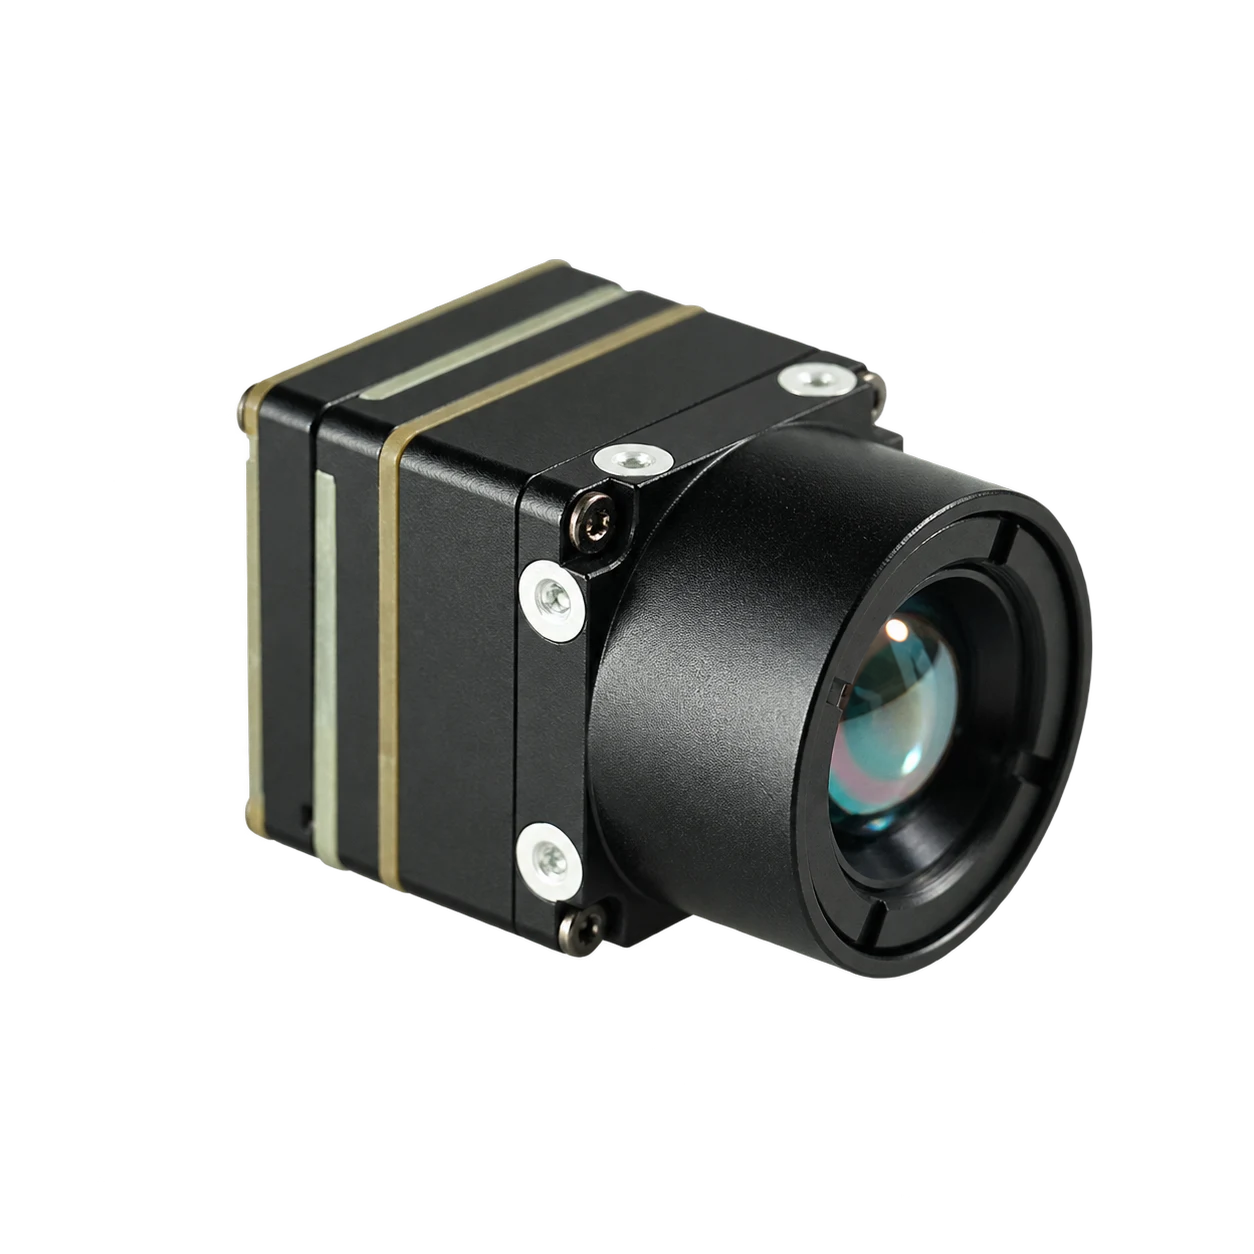
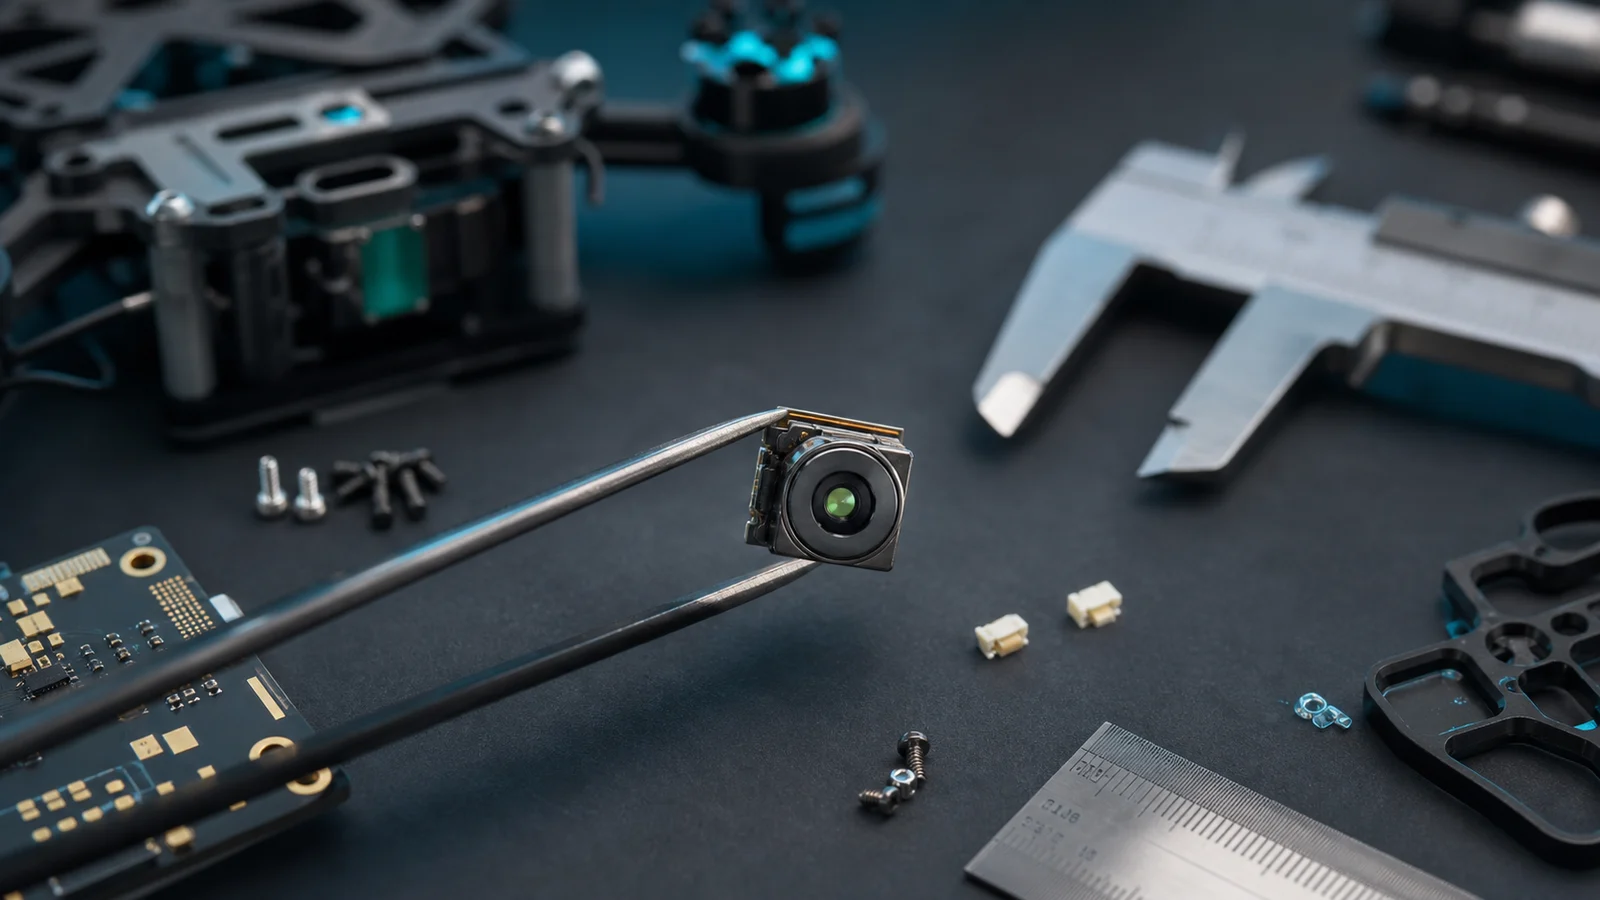
That is why this memo uses CAMCUDA AeroMini 640 as the main example and SuperMini 640 / 640T for a same-resolution comparison. Both are current featured product families. AeroMini offers configurable lens and interface kits; SuperMini is worth comparing when core dimensions and mass are tighter constraints. Confirm availability and supplied items for the exact version, rather than treating a product-family listing as a stock guarantee.
Selection chart: 5 reliable decisions before sample ordering
| Decision | What to confirm | Why it matters | AeroMini 640 imaging reference point |
|---|---|---|---|
| Image requirement | Resolution, pixel pitch, NETD, frame-rate expectation, palette needs | Prevents choosing resolution alone while missing sensitivity or output behavior | 640 × 512, 12 μm, ≤30 mK at 25°C, F/1.0; 60 Hz default / 30 Hz factory option |
| Mechanical fit | Core body, lens clearance, bracket, connector access, enclosure wall | A small module can become large once the lens, cable bend, and mounting method are added | 21 × 21 × 28 mm and <20 g, excluding lens and flange; confirm the complete assembly |
| Video path | USB, embedded interface, or analog output for existing display/transmitter | Late interface changes can force host-board changes or payload rewiring | USB + CVBS + MIPI or Type-C + CVBS kits; confirm output, firmware and host compatibility |
| Control path | Command interface, serial control, host compatibility, test fixture | The image stream is not enough if the system also needs command and configuration control | UART, RS232 or RS422 depending on interface board; request the matching command and wiring documents |
| Procurement file | Datasheet, drawing, interface notes, compliance statement, destination market | Prevents sample approval from stalling at sourcing or compliance review | Request configuration-specific documents and any required NDAA statement; confirm scope during RFQ |
This is the practical trade-off: a larger complete payload may be easier to demonstrate, but a compact hd thermal camera core gives OEM teams more control over bracket, enclosure, host board, and product identity. That control is valuable only if the interfaces and documentation are decided early.
AeroMini and SuperMini parameters for hd thermal camera core evaluation
AeroMini 640 and SuperMini 640 are LWIR integration cores that still need a suitable host, optics, interface hardware and enclosure. The imaging-only comparison below keeps their measurement scopes explicit. Lens, flange, boards, cables and mounting hardware can change the final payload envelope and power budget.
| Product | CAMCUDA AeroMini 640 — imaging | CAMCUDA SuperMini 640 — imaging |
|---|---|---|
| Detector type | Uncooled VOx | Uncooled VOx |
| Resolution | 640 × 512 | 640 × 512 |
| Pixel pitch | 12 μm | 8 μm |
| Spectral range | 8–14 μm | 8–14 μm |
| Imaging frame rate | 60 Hz factory default; 30 Hz factory option | 50 Hz |
| NETD | ≤30 mK at 25°C, F/1.0 | ≤40 mK at 25°C, F1.0 |
| Supply voltage | 5 V or 12 V, board-dependent; illustrated POWER_IN1 / POWER_IN2 pins are 5 V only | MAIN_POWER 3.8–5.2 V plus separate regulated 3.3 V and 1.8 V rails; follow sequencing and noise limits |
| Typical power at 25°C | <0.5 W module consumption; complete-kit consumption may differ | ≤0.5 W core consumption, excluding expansion board |
| Video / interface options | USB + CVBS + MIPI or Type-C + CVBS kits; output depends on board and firmware | 8-bit LVCMOS / BT656 or 2-lane MIPI; optional USB expansion board |
| Analog video support | CVBS, PAL / NTSC; board-dependent | CVBS pin requires an external video-buffer IC |
| Communication interface | UART, RS232 or RS422; board-dependent | UART with 1.8 V logic |
| Published weight | <20 g, excluding lens and flange | <3.5 g, excluding lens, flange and user expansion board |
| Published dimensions | 21 × 21 × 28 mm, excluding lens and flange | 13 × 13 × 13.4 mm, excluding lens, flange and user expansion board |
| Operating temperature | −40°C to +80°C | −40°C to +70°C for imaging |
| Storage temperature | −50°C to +85°C | −45°C to +80°C |
| Humidity | 5–95%, non-condensing | 5–95%, non-condensing |
These mass and dimension figures have different exclusion scopes; neither describes a complete camera kit or UAV payload. Use the current AeroMini specifications and SuperMini specifications and manual, then request the configured assembly drawing and supplied-parts list.
Temperature-measurement versions: AeroMini radiometric is a separate 25 Hz version with documented 9, 13 or 18 mm lenses. It is currently out of stock and available for supply enquiries only; interface, accuracy and data format require confirmation. SuperMini 640T is the separate 30 Hz thermographic model. Its measurement ranges are −20°C to +150°C and 100°C to +650°C, with typical accuracy of ±2°C or ±2% of reading at −20°C to +60°C ambient. SuperMini configurations require quotation review. None of these thermography specifications applies to the imaging-only models in the table.
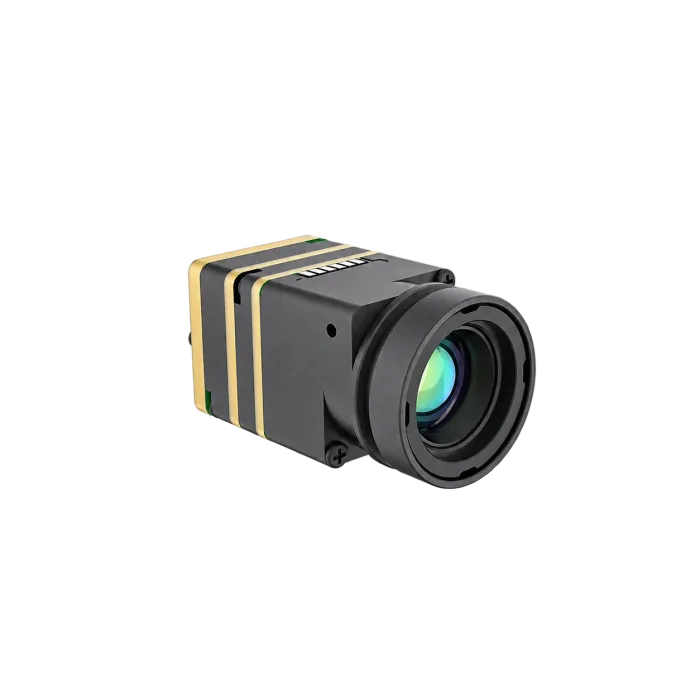
For a buyer comparing an hd thermal camera core against a finished thermal drone, that table changes the conversation. The sample review is less about whether the image is impressive on a monitor and more about whether the module can sit inside the planned product without forcing a redesign.
Interface decisions: USB, RS-422, and CVBS are not afterthoughts
The realistic mistake is simple: the team asks for “640 x 512 thermal” and leaves video output for later. Then the prototype needs a USB stream for the processor, an analog path for an existing transmitter or recorder, and a command interface for control. The module may still be the right one, but the RFQ was incomplete.
For AeroMini 640, choose the USB + CVBS + MIPI kit or Type-C + CVBS kit for the intended host. UART, RS232 and RS422 availability depends on the interface board. Confirm the output format and achieved frame rate with the board, firmware and host; the factory imaging rate does not guarantee simultaneous full-rate output on every interface. If the project involves analog video, legacy display compatibility, low-latency monitoring, or drone video transmission, ask about CVBS analog output on applicable configurations and confirm during RFQ. For SuperMini, BT656 and MIPI cannot operate simultaneously, and its CVBS pin needs an external video-buffer IC.
Wiring check: use the AeroMini interface definitions and the guide matched to the ordered board. The illustrated POWER_IN1 and POWER_IN2 pins are 5 V inputs; do not connect them to 12 V. The illustrated 16-pin and 26-pin connections must not be substituted for the Type-C board wiring guide. Put the correct electrical interface document alongside the mechanical drawing in the first engineering review.

Use this schematic with the original 16-pin signal table and matching board layout. The complete AeroMini datasheet includes the separate 26-pin MIPI/DVP reference. SuperMini instead requires its 30-pin core definitions, complete manual PDF pages 6–7.
For UAV buyers, this is also where the internal links become practical. If the project is a payload, review CAMCUDA’s drone thermal camera application page while checking the product page. If the same core will support utility yards, perimeter systems, inspection vehicles, or service teams, the outdoor and field thermal imaging page gives the deployment context that a product table cannot cover by itself.
Teledyne FLIR’s material on professional thermal drones, including its SIRAS launch for public safety and industrial inspection, reinforces why the payload has to be considered as a system: thermal visibility, data handling, field use, and mission workflow all sit around the sensor. For an hd thermal camera core, the same thinking applies at the component level.
Application case: a compact payload bracket with one late cable problem
Consider a UAV integrator building a small inspection payload for roof and utility work. The mechanical team starts with AeroMini 640 at 21 × 21 × 28 mm and less than 20 g, excluding lens and flange, then checks the selected optics, board, cable and mount against the complete payload budget. The software team likes USB video because it can evaluate the stream quickly. Procurement likes a clear product page and a direct path to an engineering quote.
The late problem is not resolution. The late problem is cable bend and output expectation. The first bracket leaves space for the module body but not enough space for connector access after the lens path and vibration isolation are added. Meanwhile, the field operator asks whether the same payload can feed an existing analog monitor. That single question changes the RFQ from “send one hd thermal camera core” to “confirm USB video, the required serial control path, and CVBS analog output on the selected interface board for this payload layout.”
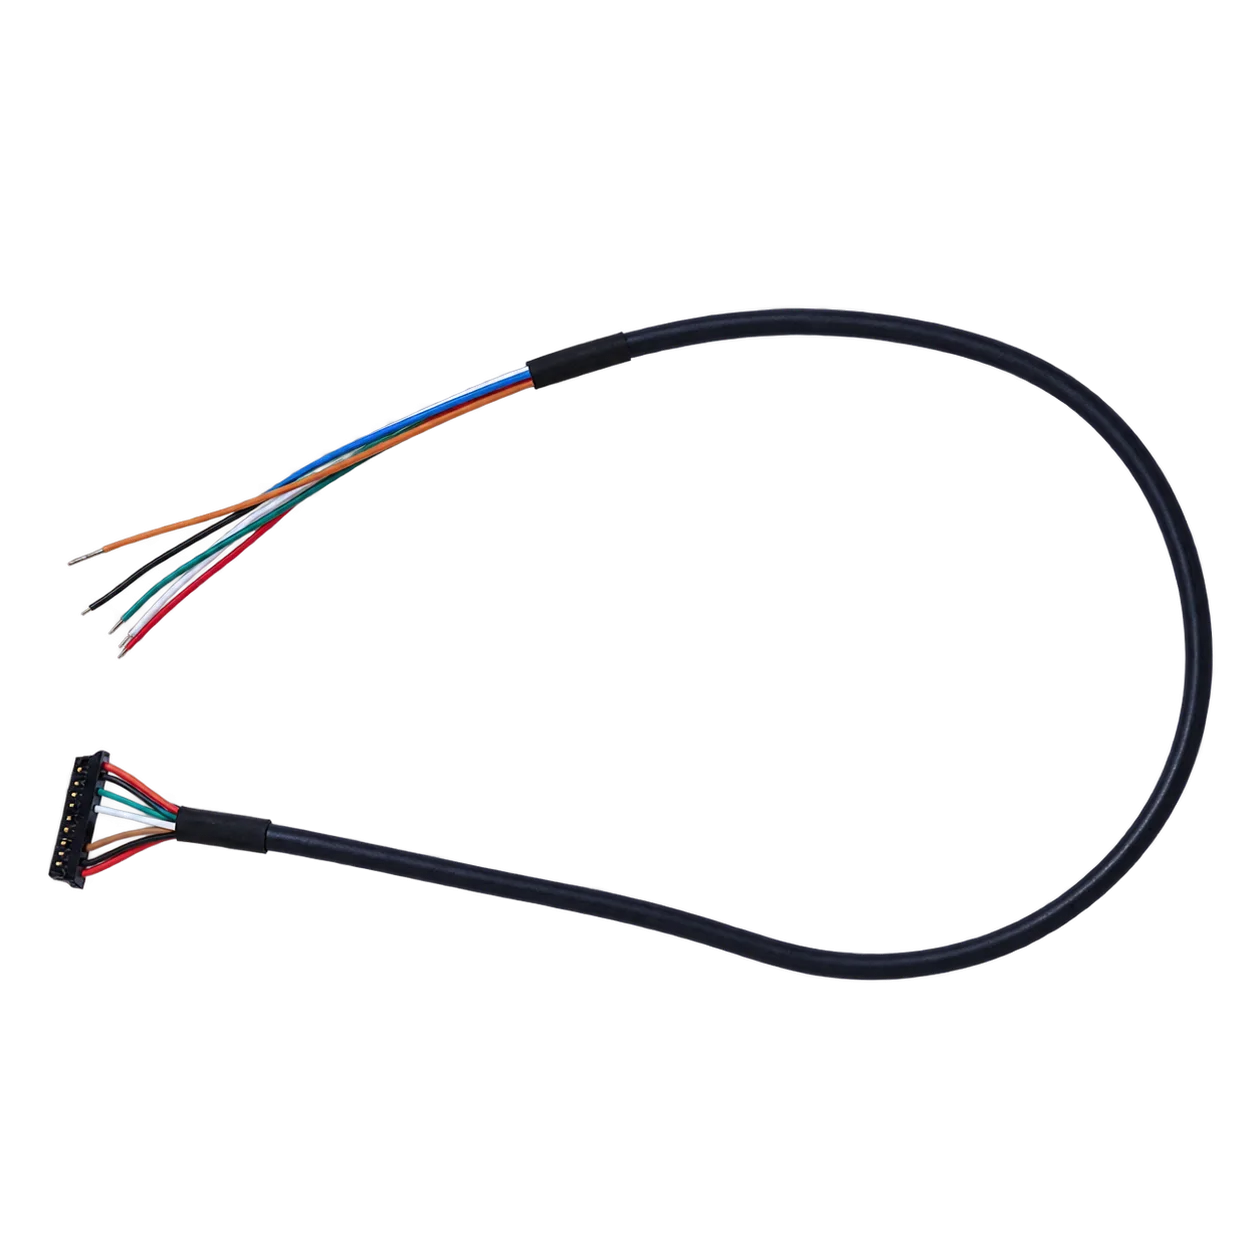
Reserve space for the actual connector, harness and soldered termination in the bracket review. For a SuperMini alternative, the manual’s bare-core drawing, PDF page 13 excludes the lens and expansion board; obtain the selected assembly drawing before finalizing the mount.
A better handoff would be short and specific: bracket drawing, available power rail, host processor, desired video path, control commands, operating temperature range, target market, and documentation needs. If the buyer is in North America or a government-adjacent inspection channel, include a request for an NDAA statement. Confirm whether the required statement and supporting documents are available for the exact model, configuration and procurement scope during RFQ.
For teams comparing product families, start from AeroMini 640 and SuperMini 640 / 640T, then use the thermal module selection guide and current product catalogue to understand the broader product structure. If your next step is documentation, use support downloads or send the project details through CAMCUDA contact.
Common mistakes when buying an hd thermal camera core
Mistake 1: treating 640 x 512 as the whole specification
Resolution matters, but sensitivity, lens path, frame-rate expectation, image processing, and output behavior decide whether the core is usable in the product. Ask for the full module table, not only the pixel count.
Mistake 2: reviewing the module as if it were a finished camera
A core needs a host system. Your review should include bracket, cable, enclosure, power, firmware/control, and display or processor path. This is especially important for compact payloads where a few millimeters decide whether the design closes.
Mistake 3: leaving analog video out of the RFQ
If the design involves legacy displays, recorders, analog transmitters, low-latency pilot viewing, or retrofit work, state that up front. Ask whether CVBS analog output is available on the exact applicable configuration.
Mistake 4: asking for compliance documents too late
Procurement review can block a technically good sample. For North America, security monitoring, drone inspection, and industrial monitoring projects, request the NDAA statement availability and any required compliance documentation during RFQ.
RFQ checklist for an hd thermal camera core sample
- Target application: UAV payload, embedded device, outdoor monitoring, robotics, industrial inspection, or another specific use.
- Required image level: 640 x 512, expected frame-rate behavior, NETD sensitivity need, palette/output requirements.
- Mechanical envelope: module space, lens clearance, bracket method, cable bend, vibration isolation, enclosure material.
- Power budget: available voltage rail, current margin, heat path, duty cycle, operating temperature.
- Video path: USB video, host processor, recorder, transmitter, monitor, and whether CVBS analog output is required on an applicable configuration.
- Control path: required serial interface and logic levels, matching command documents, configuration workflow, test fixture.
- Documentation: datasheet, mechanical drawing, interface diagram, RFQ notes, compliance documents, and NDAA statement availability if needed.
- Commercial details: destination country, sample quantity, expected production path, required accessories, and review timeline.
That checklist is deliberately plain. It helps the supplier answer the real question: which hd thermal camera core configuration can your team test without inventing a second project around the sample?
Review the compact 640 x 512 module before your next sample RFQ
Use the AeroMini 640 product page for module facts and compare SuperMini 640 / 640T when core size or thermography is a deciding requirement, then send the mechanical, interface, and documentation questions that matter for your design. CAMCUDA can help match compact LWIR modules to drone payloads, OEM products, outdoor field systems, and embedded thermal vision projects.
FAQ: hd thermal camera core sourcing questions
What does hd thermal camera core usually mean in an OEM RFQ?
It usually means the buyer wants a higher-resolution thermal module, often 640 x 512 or above, for integration into another product. The phrase is imprecise, so the RFQ should still name resolution, interface, lens/FOV, size, power, and documentation needs.
Is 640 x 512 enough for drone inspection work?
It can be a strong fit for many inspection payloads, but the answer depends on altitude, lens choice, field of view, target size, display path, and operator workflow. Review the drone use case and module interface together.
Why is AeroMini 640 relevant to hd thermal camera core buyers?
It combines 640 × 512 LWIR imaging with a 21 × 21 × 28 mm module and <20 g published mass, excluding lens and flange. Confirm the complete assembly for the selected optics and interface board. SuperMini 640 offers a smaller bare-core comparison, with different board and power requirements.
Does AeroMini 640 support CVBS analog video?
AeroMini lists CVBS in its USB + CVBS + MIPI and Type-C + CVBS kits. If your system needs analog video for a display, recorder, transmitter, or retrofit path, confirm PAL / NTSC output, wiring and the exact board during RFQ.
Should USB video or CVBS be chosen first?
Choose based on the host system. USB is practical for processor-based evaluation and embedded development. CVBS can matter when a project needs analog display, recording, or transmission compatibility. Some projects need both discussions before the sample is ordered.
What product information should procurement request?
Ask for the product specification, mechanical drawing, electrical interface reference, quote details, lead-time discussion, destination-market documentation, and NDAA statement availability when procurement or compliance review requires it.
Can an hd thermal camera core be used outdoors?
Yes, if it is integrated into a suitable host system and enclosure. Outdoor suitability depends on lens, enclosure, environmental protection, power stability, thermal design, and field workflow, not only the module core.
What is the biggest late-stage integration risk?
The common risk is treating the module as only an image source. Cable routing, control interface, analog video expectation, power budget, and documentation can all create delays if they are not included in the first RFQ.
When should I contact CAMCUDA instead of only reading product pages?
Contact CAMCUDA when the design has a real host platform, bracket, market, or documentation requirement. A short engineering RFQ can confirm whether AeroMini 640, SuperMini 640 / 640T or another current module path fits the project.