LWIR cameras in 2026: a Practical Lesson from One Risky Outdoor RFQ
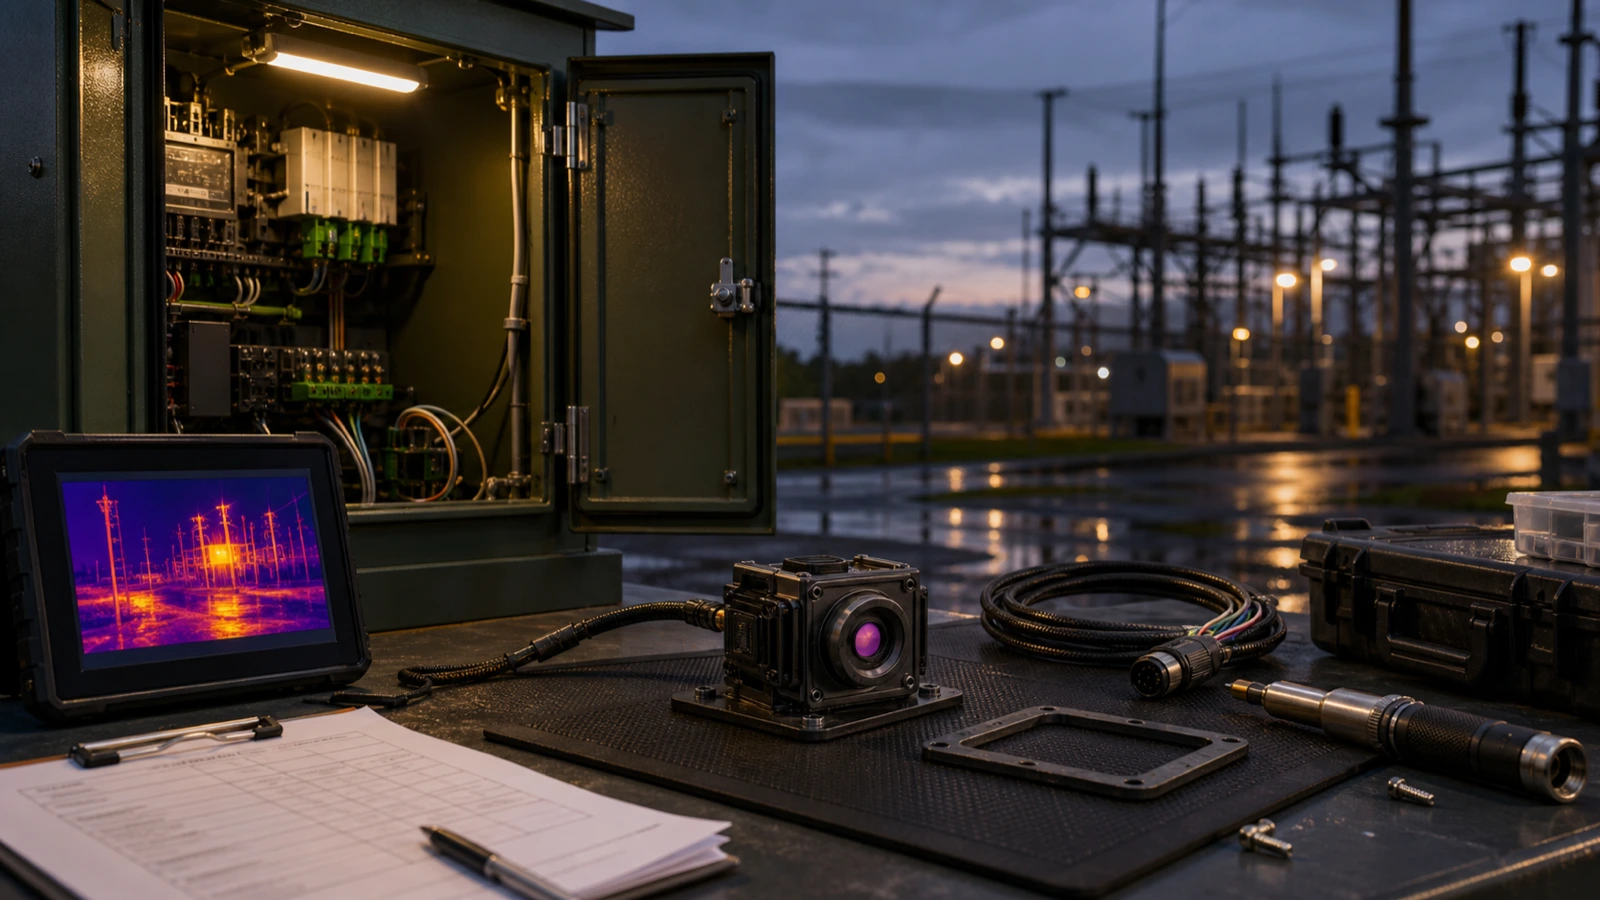
In the illustrative case below, at 6:10 p.m. the laptop still shows a clean thermal image. Then the site engineer opens the utility-yard cabinet drawing and the easy part of the conversation ends.
LWIR cameras in 2026: a Practical Lesson from One Risky Outdoor RFQ
LWIR cameras often look settled too early in outdoor projects. The module streams over USB, the image looks sharp enough on the bench, and everyone assumes the thermal question is basically closed. The risky part shows up later, when the same project still has to survive a wet enclosure review, a service-view decision, a cable route, and a procurement document check for the actual site.
This article uses CAMCUDA AeroMini 640 non-radiometric imaging as the concrete example, with a 9 mm lens, 60 Hz factory setting and USB + CVBS + MIPI package as the configuration to review. The goal is to show why one outdoor RFQ can stay risky even after the first thermal demo looks fine. This version provides thermal images and does not measure temperature.
Quick answer: For outdoor monitoring and field-service projects, LWIR cameras can go off track in three places: the team validates only the bench video path, the enclosure and service workflow stay vague, and procurement asks for documents after the site review has already started. CAMCUDA buyers evaluating an AeroMini 640 non-radiometric configuration should lock the field application, service-view path, enclosure constraints, and documentation list before treating the sample as a safe RFQ baseline.
Why LWIR cameras get riskier when the project leaves the bench
An outdoor review should connect the intended scene and service workflow to the selected lens, host, enclosure, and acceptance plan. The reader’s practical task is to avoid the expensive moment when a thermal choice looks ready indoors but still is not ready for the field. LightPath’s LWIR security OEM guide is useful context because it includes integration, environmental qualification, and lifecycle support in supplier selection. Those questions belong in the RFQ; another supplier’s environmental claims do not establish the performance of the selected CAMCUDA assembly.
For site-monitoring and utility projects, the lifecycle problem is usually simple. The first sample proves that the image exists. It does not prove that the install will be clean. A field team may still need a small service monitor inside a cabinet. A procurement lead may need drawings, support files, and document timing for a customer review. A North America buyer may decide late that the purchase file also needs compliance context and available NDAA-related documents for the exact configuration, with their scope reviewed by procurement. None of those questions mean the module is wrong. They mean the project treated the first image like the last decision.
That is why LWIR cameras for outdoor work should be reviewed against the live CAMCUDA path a buyer will actually use next: the outdoor and field thermal imaging application page, the AeroMini configuration page, the support downloads page, the support FAQ, and the Contact / RFQ page. Those links match the real handoff better than another abstract thermal primer.
LWIR cameras selection chart for a wet-site install
A useful outdoor RFQ does not start with the prettiest screenshot. It starts with the field constraint most likely to delay the install.
| Decision area | What feels done too early | What still needs to be confirmed |
|---|---|---|
| Video path | USB video works on a development laptop | Whether the live field workflow stays USB-only or also needs a cabinet monitor, recorder, or another review step |
| Mechanical fit | The module fits on a temporary plate | Connector direction, cable bend space, gasket clearance, service-tool access, and enclosure routing |
| Site conditions | Indoor testing looks stable | Wet-site exposure, condensation management, temperature range, vibration, humidity, cable glands, maintenance intervals, and installed-system tests |
| Procurement packet | Price and quantity are roughly understood | Drawings, support files, destination-market notes, and which NDAA-related or compliance documents are available for the exact configuration and buyer review |
| Application scope | The team says only “outdoor thermal monitoring” | Whether the real job is perimeter awareness, utility-yard inspection, service diagnostics, or another named workflow |
The chart matters because a datasheet alone does not settle an outdoor installation. Several ordinary assumptions can remain open at once. FLIR’s Perimeter Protection overview illustrates how thermal cameras can sit within video management, analytics, and operator workflows. It does not establish CAMCUDA compatibility with that system. If the intended workflow is still vague, the RFQ still needs work.
AeroMini 640 parameter table for outdoor LWIR camera planning
The AeroMini 640 product page lets the buyer specify non-radiometric imaging, factory frame rate, lens, and interface package. The following values support planning for that imaging path; verify the ordered board, lens, firmware, and complete assembly before approving the outdoor sample.
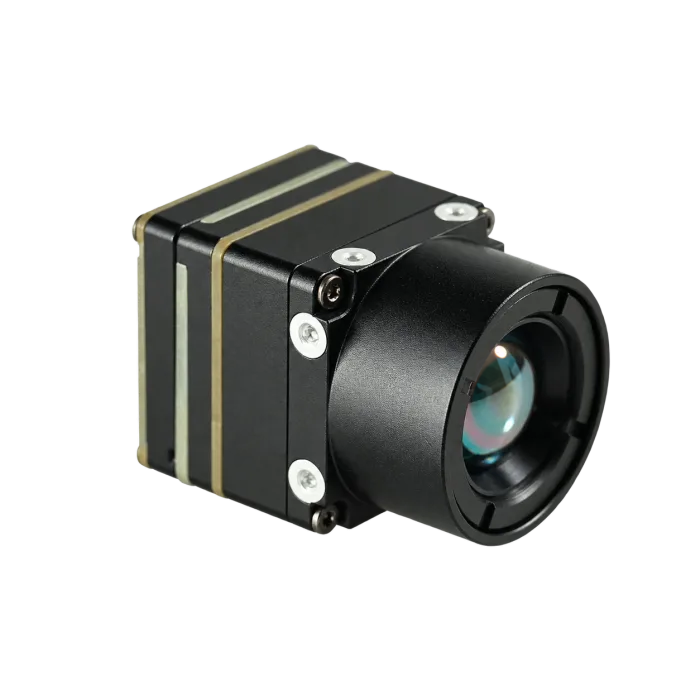
| Component model | AeroMini 640 non-radiometric; review 9 mm / 60 Hz / USB + CVBS + MIPI configuration |
|---|---|
| Detector type | Vanadium oxide uncooled infrared focal plane detector |
| Resolution | 640 × 512 |
| Detector frame rate | 60 Hz factory default / 30 Hz factory option; actual output timing depends on interface, firmware, and host |
| Pixel pitch | 12 μm |
| Spectral range | 8–14 μm |
| NETD | ≤30 mK at 25°C, F/1.0; sensitivity is not absolute temperature accuracy |
| Supply voltage | 5 V at illustrated 16-pin POWER_IN1 and 26-pin POWER_IN2 inputs; never connect these pins directly to 12 V or 24 V |
| Typical power consumption @ 25°C | <0.5 W for the module; confirm complete-kit and field power-conversion budget |
| Digital video | USB and MIPI on the selected USB + CVBS + MIPI board; confirm required output format, host, and firmware; Type-C + CVBS uses a different board |
| Analog video support | CVBS on the selected board; confirm PAL/NTSC mode and the complete monitor or recorder chain during RFQ |
| Communication interface | Board-specific: illustrated 16-pin RS232_RX/TX and 26-pin UART0_TX/RX; confirm electrical levels, transceiver, and protocol rather than assume USB serial or RS-422 |
| Weight | <20 g, excluding lens and flange; confirm complete assembly mass |
| Dimensions | 21 × 21 × 28 mm, excluding lens and flange; request ordered lens/board assembly dimensions |
| Operating temperature | −40°C to +80°C; module range does not establish enclosure or weather qualification |
| Storage temperature | −50°C to +85°C |
| Humidity | 5–95%, non-condensing; assess installed condensation control and ingress protection separately |
| Vibration | Request the selected assembly’s test profile, mounting conditions, report, and acceptance limits; no AeroMini rating established here |
| Shock | Request the selected assembly’s shock test profile, axes, duration, report, and acceptance limits; no AeroMini rating established here |
These numbers help because they turn LWIR cameras into a planning conversation. The module is light and compact, which is useful when the cabinet or field enclosure is already crowded. The practical trade-off is that compact hardware can make teams careless about everything around it. Small size removes one problem, but it also tempts buyers to postpone the wiring, service-view, and maintenance-access discussion until the site review is already under way.
A short outdoor case with real constraints
Illustrative utility-yard scenario
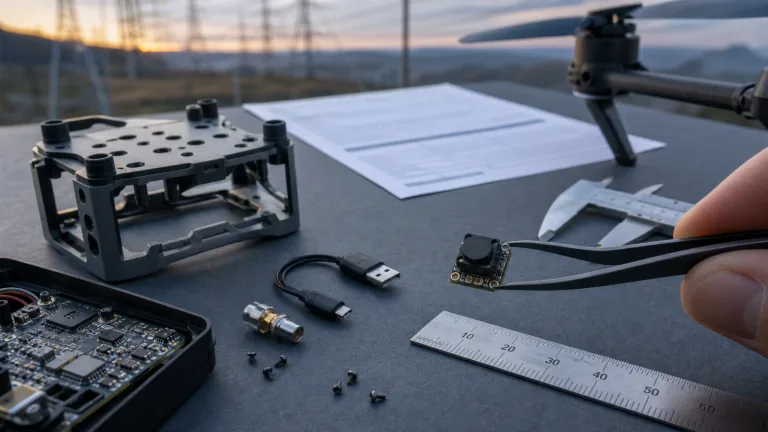
Consider a utility integrator preparing a small thermal image-review add-on for a fenced yard. The first sample streams over USB on a bench PC. Two weeks later, the install team adds three constraints: the cabinet is powered from an existing 24 V path with limited room for the regulated conversion stage required by the selected 5 V board, the maintenance team wants a quick local view during service visits, and the customer asks for the documentation packet before approving the second sample order.
That is a better field example for LWIR cameras than another broad security story because the constraints are ordinary. Nobody asked for an exotic sensor. Nobody found a catastrophic detector problem. The issue is that the USB proof answered only one part of the job. The local-view requirement reopened the interface conversation. The cabinet layout reopened the mechanical one. The customer review reopened the documentation one.
The realistic mistake is easy to make: the team wrote “outdoor thermal monitoring” in the RFQ and assumed the rest would get clarified later. That phrase hides the real decision points. Is the module only feeding a host computer during setup? Does field service need a simple monitor? Is a legacy display or recorder still in the chain? Are Europe documents or a North America procurement note needed before the site gate? A good outdoor RFQ forces those questions earlier. For the illustrated AeroMini inputs, the cabinet’s 24 V supply must not connect directly to POWER_IN1 or POWER_IN2. Validate the conversion stage, wiring, enclosure heat, and full kit power budget, then test the installed sealing and condensation-management plan; the module temperature range is not an IP rating.
Interface and document questions that should move earlier
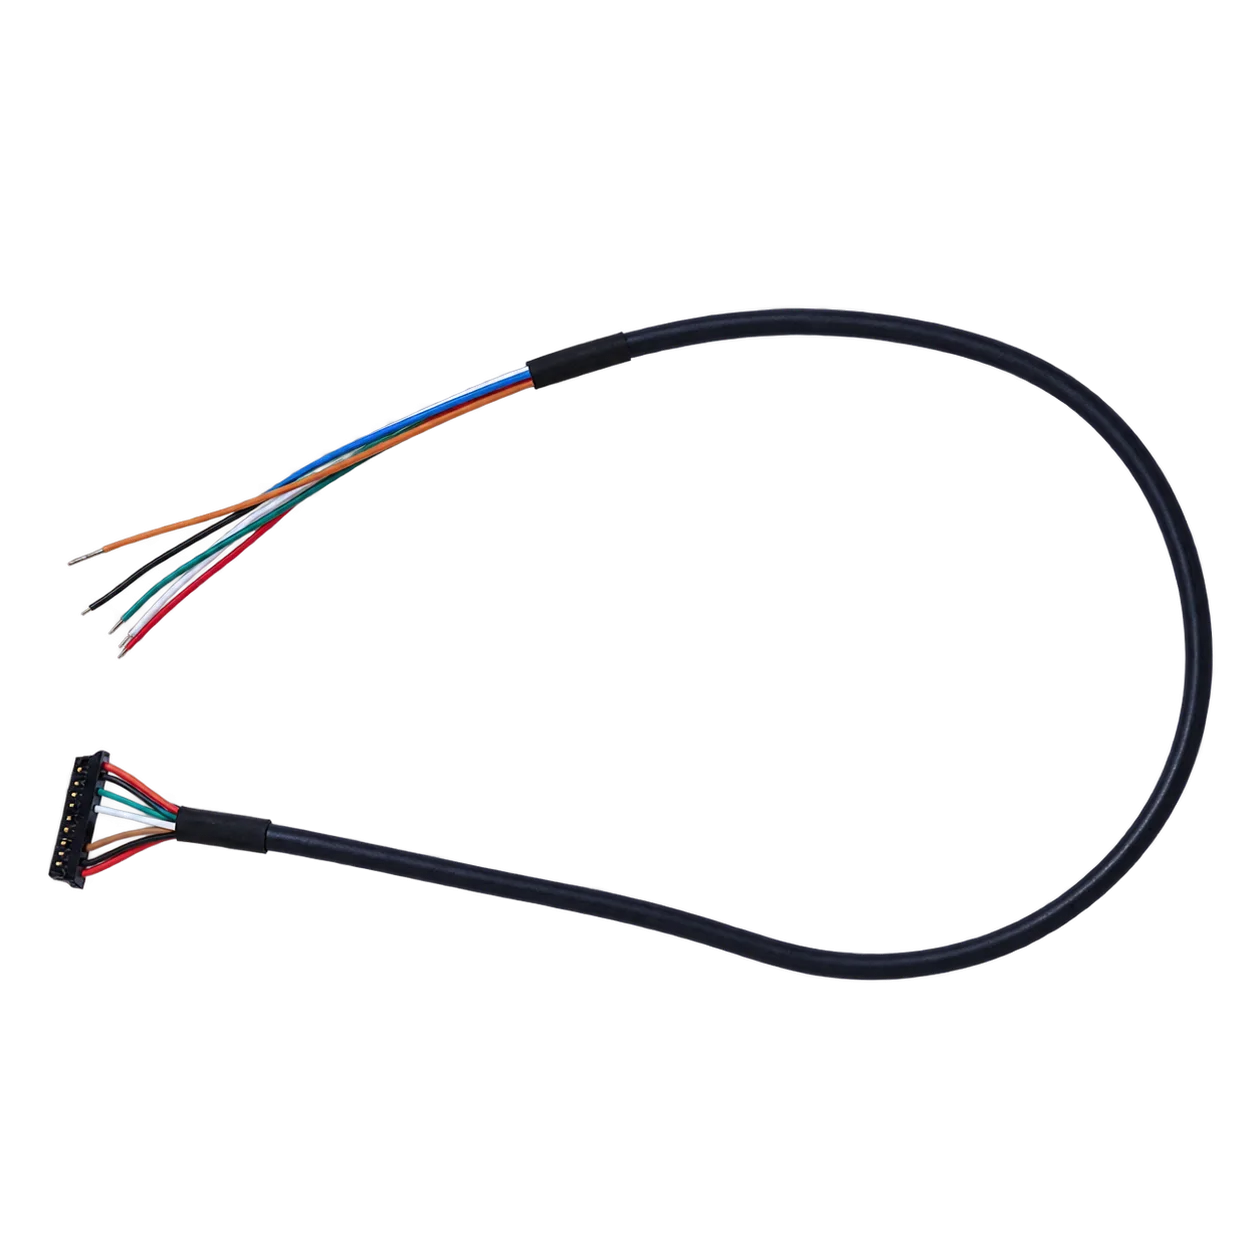
For AeroMini non-radiometric imaging, USB + CVBS + MIPI and Type-C + CVBS are distinct interface packages. The first includes a cable requiring customer soldering; the second uses its own wiring cable and USB-C data cable. USB video does not establish a USB virtual serial port or universal RS-422 support. The illustrated 16-pin signals are RS232_RX/TX, while the 26-pin reference includes UART0_TX/RX. Match the board revision, electrical levels, required transceiver, and command protocol before connecting a host. A successful USB bench image still leaves the installation and maintenance workflow to validate.
If a field workflow uses a service display, recorder, or legacy viewing chain, confirm the selected board’s CVBS mode, PAL/NTSC format, cable route, and actual monitor or recorder operation during RFQ. A 60 Hz factory imaging configuration does not guarantee simultaneous 60 Hz output on every interface. Name the required host, firmware, image format, output timing, and service path while the sample plan is still flexible.
The USB-IF Video Class v1.5 document set provides class-level context, not proof that an AeroMini configuration implements UVC 1.5 or a particular driver, format, or frame rate. Review the selected board’s documentation and the AeroMini Linux drivers, examples, and SDK resource path, then validate the intended host. Those model-specific resources do not establish compatibility with every host.
Documentation timing is the other half of the problem. Outdoor and security-adjacent buyers in Europe and North America may need more than a module link and a quoted price. Request support files from downloads, answers from support FAQ, and guidance on available documents from EU compliance. If procurement needs NDAA-related material, ask what is available for the exact configuration and have the buyer review its scope and relevance. Name the model, order configuration, destination, use case, requested documents, and review date; a general webpage is not a product certificate.

Common mistakes buyers make with outdoor LWIR camera projects
1. Treating the first USB image as field proof
A bench-friendly result proves that the image exists. It does not prove that the install, service workflow, and site review are settled.
2. Writing an RFQ that names the detector but not the field job
“LWIR cameras” alone is not a usable field brief. The supplier still needs the application, enclosure, viewing path, and document timing.
3. Waiting too long to mention analog viewing
Many projects never need it. Some still do. If service or legacy viewing matters, confirm the selected board’s CVBS mode, PAL/NTSC format, cable, and monitor or recorder chain during RFQ.
4. Assuming compact size removes enclosure risk
AeroMini is compact, but the project can still fail late on connector access, cable bend space, moisture management, or maintenance clearance. Its module environmental limits do not establish weatherproofing or an enclosure IP rating.
5. Asking for procurement documents only after the site gate
North America and Europe buyers often know late that the customer file needs more support material. The cleaner move is to request those items while the RFQ is still forming.
None of these mistakes are dramatic. That is exactly why they keep reappearing in LWIR cameras projects. Each one looks manageable alone. Together they are enough to turn a calm sample review into a risky outdoor install.
RFQ checklist for LWIR cameras in outdoor field deployments
If the goal is to make the next conversation more useful, the RFQ should do more than ask for price and lead time. It should show CAMCUDA what the outdoor install really needs.
| RFQ item | Why it matters |
|---|---|
| Named application | Separates utility-yard monitoring, perimeter/security, service diagnostics, and other field uses. |
| Site-view workflow | Clarifies whether USB review is enough or whether a simple local display or recorder still matters. |
| Enclosure and mounting notes | Defines access, cable routing, strain relief, gasket clearance, and maintenance tools. Include target distance and field width; the thermal imaging calculator supports preliminary geometry estimates that still require validation with the actual lens and target. |
| Power and host path | Names the host, board revision, firmware, format, and output timing; supports review of matched regulated 5 V conversion from the 24 V cabinet supply and the full kit power budget. |
| Environmental notes | Brings temperature, humidity, condensation, ingress, vibration, and shock acceptance tests into the complete installed-system review; module limits are not weatherproofing guarantees. |
| Document list | Names available support files and requested compliance or NDAA-related materials for the exact configuration, destination, buyer review, and required date. |
For many teams, the right next step is to start from the outdoor field application page, compare the AeroMini 640 non-radiometric configurations, review the broader thermal imaging cores and uncooled thermal modules range, and then send the actual field constraints through Contact / RFQ. That is a stronger handoff than saying the module “looked good in the lab.”
Turn the sample result into a cleaner outdoor RFQ
If your project is already past the first bench demo, the next useful step is to review the outdoor application, the service-view path, the enclosure notes, and the documentation list together. CAMCUDA can then review the selected AeroMini imaging configuration against the field deployment context and the complete-system acceptance plan.
Review AeroMini 640 non-radiometric configurations | See outdoor and field thermal imaging applications | Open support downloads | Send an RFQ
FAQ
Why do LWIR cameras become riskier outdoors than they looked on the bench?
Because the field install adds enclosure access, wet-site conditions, power routing, service viewing, and customer-document timing. The bench image answers only one part of the job.
Is USB enough for every outdoor LWIR camera project?
No. USB can be a strong evaluation path and may remain correct for some systems, but some outdoor jobs still need another review or service path that should be named early.
Why mention CVBS in an article about outdoor monitoring?
Because some field-service and legacy-monitor workflows still value a simple analog view. Confirm the selected board’s CVBS mode, PAL/NTSC format, cable, and monitor or recorder operation during RFQ; the factory imaging rate does not guarantee every output runs simultaneously at 60 Hz.
What is the most realistic buyer mistake in an outdoor RFQ?
Using broad wording like “outdoor thermal monitoring” without naming the site-view method, enclosure limits, maintenance workflow, or required documents.
Does a compact module like AeroMini 640 solve enclosure risk by itself?
No. The small size helps, but the project still needs a real review of power, connector direction, cable space, gasket clearance, and service access. The quoted 21 × 21 × 28 mm and <20 g exclude lens and flange; the complete assembly needs its own fit check and environmental acceptance.
When should North America buyers ask for an NDAA statement?
Ask as soon as the procurement path suggests it may be required. Request available NDAA-related documents for the selected configuration and have the buyer’s procurement team review their scope and relevance before the site gate.
What should Europe buyers confirm early?
They should confirm the available documentation package, support-file needs, and buyer review for the exact configuration, destination market, and use case. A general compliance page does not establish certification of the ordered assembly.
What product facts matter most before price comparison?
For AeroMini non-radiometric imaging, review 640 × 512 resolution, 60 Hz default / 30 Hz factory configuration, 12 μm pitch, ≤30 mK NETD at 25°C and F/1.0, the selected interface board, and complete assembly fit. Confirm the actual output timing and environmental acceptance; this version does not measure temperature.
What CAMCUDA pages should I review after reading this?
Start with the AeroMini 640 configuration page, the outdoor field application page, the support downloads page, and the RFQ page.