oem cameras: 6 Practical Size Checks Before a Tiny Thermal Module Becomes a Payload Problem
Engineering memo for compact OEM thermal modules
oem cameras: 6 Practical Size Checks Before a Tiny Thermal Module Becomes a Payload Problem
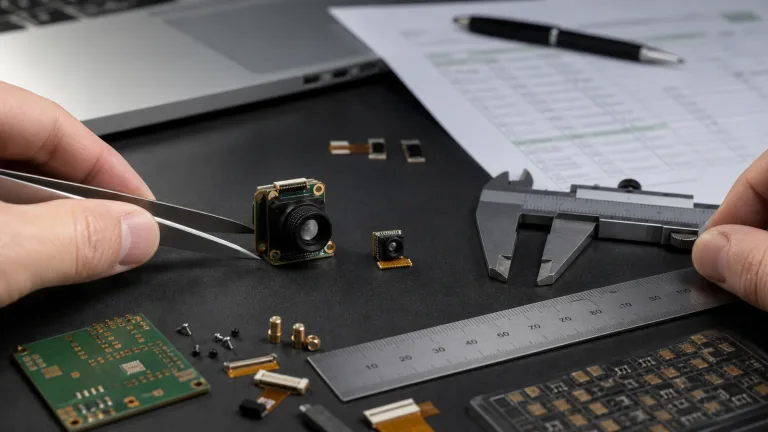
An OEM buyer asks for oem cameras, but the mechanical engineer is holding a 21 mm thermal module with tweezers. Those are not the same problem. A boxed camera can be judged by its housing, cable, and mount. A tiny LWIR module has to disappear into a payload, bracket, enclosure, host board, and procurement file without turning into a late-stage redesign.
Quick answer
oem cameras for compact thermal projects should be evaluated by real module dimensions, not by catalog-camera assumptions. For AeroMini 640, the published 21 x 21 x 28 mm and <20 g references exclude the lens and flange. They are a starting point, not the complete selected lens/tailboard assembly. Request matched CAD and assembly mass, then confirm lens/FOV, video output, control interface, mounting, documents, and sample acceptance criteria during RFQ.
oem cameras: why a tiny module gets misread as a full camera
The phrase oem cameras is broad. In one meeting it means a finished inspection camera. In another it means a thermal core that must fit inside an unmanned aircraft, outdoor enclosure, robotics head, or small edge device. The mistake is to evaluate both as if they had the same mechanical envelope.
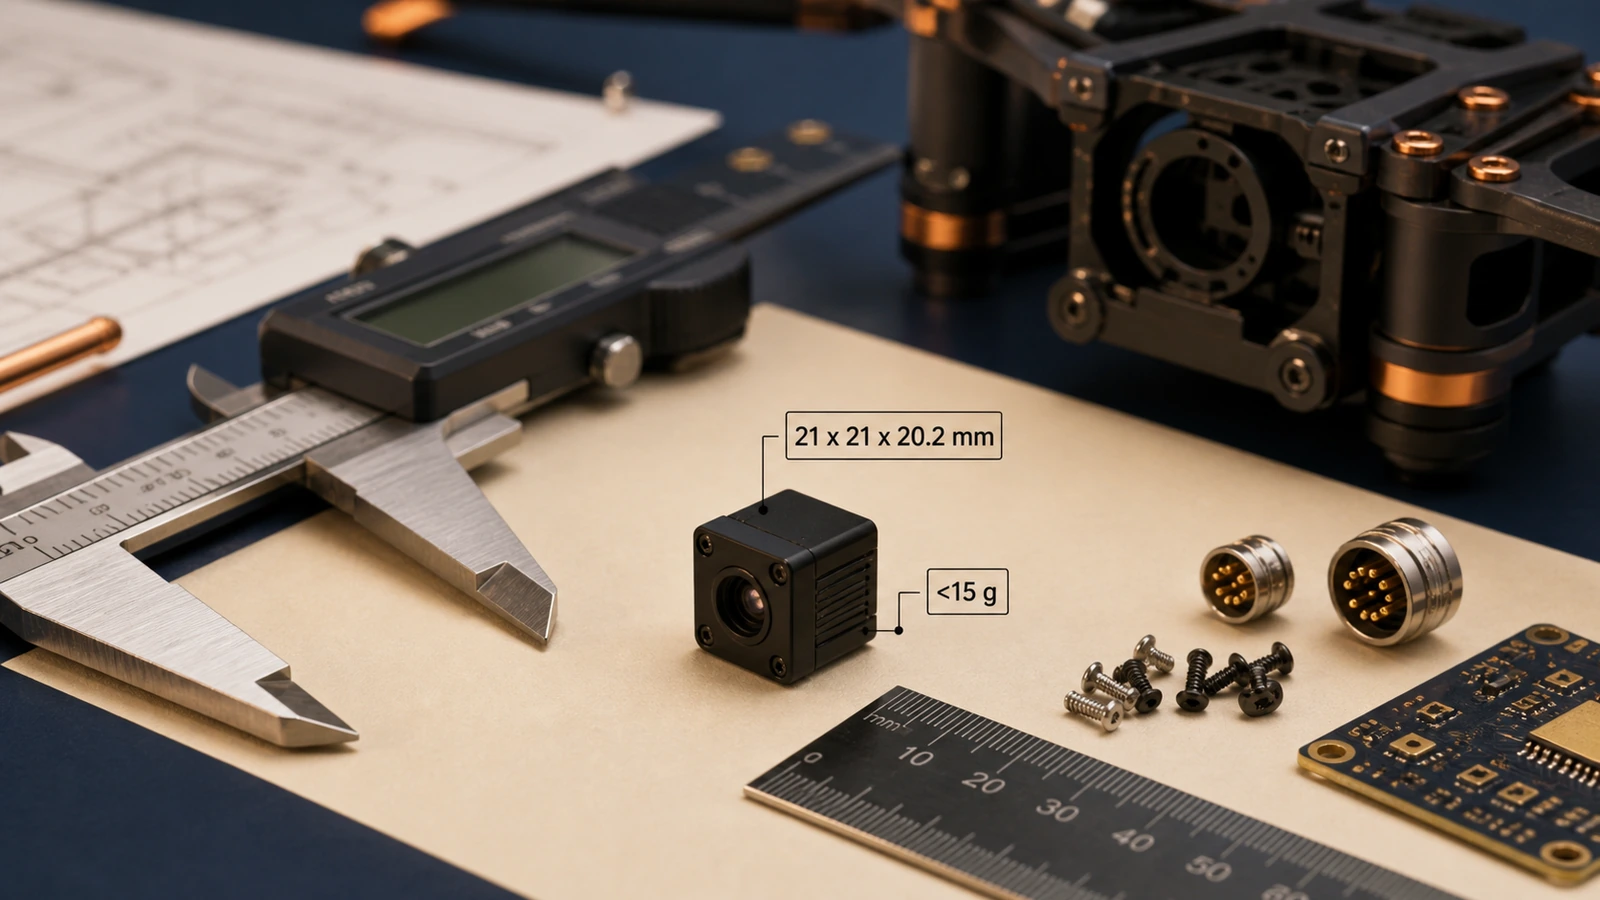
For a module such as CAMCUDA’s AeroMini 640, the smallness is not cosmetic. Its 21 x 21 x 28 mm and <20 g published references exclude the lens and flange; the selected optics, tailboard and mounting determine the finished envelope and mass. The buyer still needs to think about the bracket, cable strain relief, host-board spacing, lens clearance, and service access. The module is closer to a payload component than a boxed security camera.
That system view matches broader industry writing. NVIDIA’s physical-AI coverage treats edge hardware as part of a real operating workflow, while Micron’s edge AI context keeps hardware and data movement tied together. For thermal modules, the same idea applies: size, video path, power, and evidence capture are one design conversation.
Six practical size checks before the RFQ
| Check | What to verify | Why it matters |
|---|---|---|
| 1. Body envelope | Use the AeroMini 21 x 21 x 28 mm reference, excluding lens and flange, then obtain CAD for the selected lens, tailboard and mounting. | The payload bracket should be drawn around the module, not a guessed cube. |
| 2. Weight budget | Use the <20 g AeroMini reference, excluding lens and flange; confirm the supplied assembly mass, then add hardware not already included. | Small module weight can be lost if accessories are ignored. |
| 3. Lens and FOV clearance | Confirm the selected lens/FOV, lens protrusion and surrounding housing opening. | A tiny body still needs optical clearance. |
| 4. Cable exit | Map the selected tailboard, connector orientation, USB, control, power and analog paths before CAD freezes. | Cable bend radius can become larger than the module itself. |
| 5. Service access | Leave room for rework, screws, connectors, and thermal checks. | Compact does not mean impossible to service. |
| 6. Documentation handoff | Ask for matched assembly drawings, interface notes and applicable NDAA/compliance documents for the exact configuration when needed. | Procurement and engineering should approve the same configuration. |
AeroMini 640 product facts for compact OEM cameras
The primary Featured product for this size check is CAMCUDA AeroMini 640, a 640 x 512 uncooled LWIR thermal camera core for UAV integration. It should be discussed as a small thermal imaging module, not as a finished boxed camera. Select the camera version, lens and tailboard before accepting the assembly drawing; Featured status does not establish availability for every variant.
| Product | CAMCUDA AeroMini 640 x 512 Uncooled LWIR Thermal Camera Core for UAV Integration |
|---|---|
| Resolution | 640 x 512 |
| Pixel pitch | 12 um |
| Spectral range | 8-14 um |
| NETD | ≤30 mK at 25 °C, F/1.0 |
| Detector frame rate | Non-radiometric: 60 Hz factory default or 30 Hz factory option. Radiometric: 25 Hz, availability enquiry only. Confirm the selected output path and rate. |
| Video | USB + CVBS + MIPI and Type-C + CVBS are distinct tailboard configurations. Confirm the selected board, firmware, output format and host path during RFQ. |
| Communication | UART / RS232 / RS422 are family options dependent on the selected board. The illustrated 16-pin USB/CVBS schematic labels RS232; it does not establish RS422 on that connector. |
| Power | <0.5 W typical module consumption at 25 °C; complete-kit consumption may differ. Confirm the board supply. The illustrated POWER_IN1 / POWER_IN2 inputs are 5 V only; do not apply 12 V to them. |
| Dimensions | 21 x 21 x 28 mm, excluding lens and flange. Obtain the complete selected lens/tailboard assembly drawing. |
| Weight | <20 g, excluding lens and flange. Confirm the actual supplied assembly mass and payload bill of materials. |
| Operating temperature | -40 °C to +80 °C |
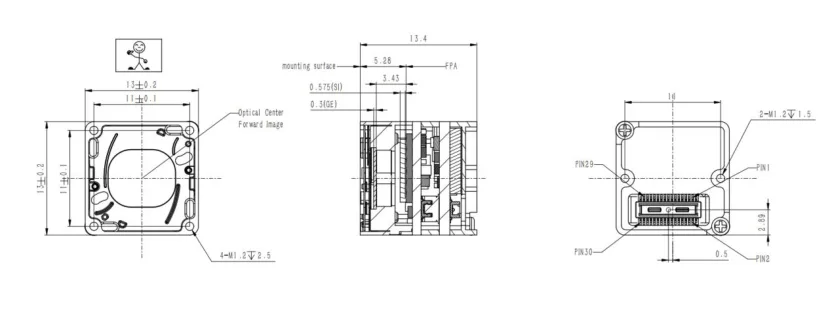
Separate bare-core comparison: the Featured CAMCUDA SuperMini 640 / 640T uses a 640 x 512, 8 um detector. Its 13 x 13 x 13.4 mm and <3.5 g references describe the bare core, excluding optics, flange and expansion boards. SuperMini 640 is 50 Hz imaging-only; SuperMini 640T is 30 Hz thermographic. The published NETD is ≤40 mK at 25 °C, F/1.0, and typical core power is ≤0.5 W, excluding the expansion board. This is a different integration baseline from an AeroMini lens/tailboard kit; compare complete configurations before choosing the smaller footprint.
For broader sourcing, compare thermal imaging cores and thermal modules, then anchor the RFQ to the exact Featured product once the mechanical envelope matters.
Application case: when a small module saves the payload, then complicates the cable
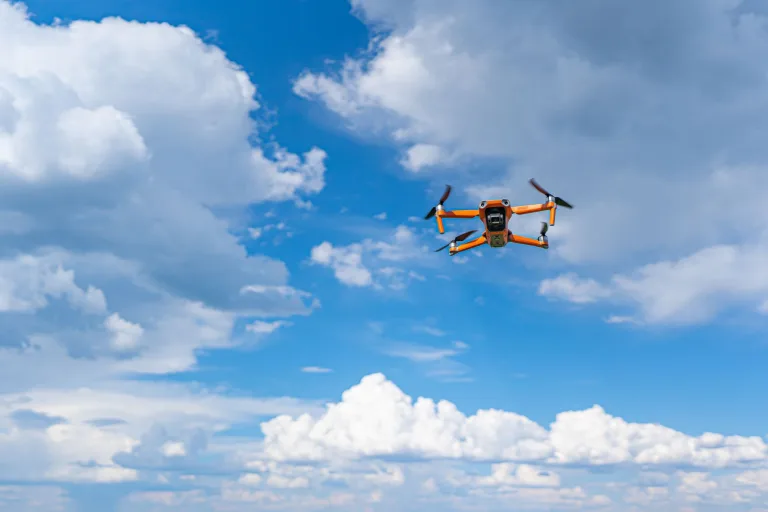
A UAV integrator wants a light thermal channel for inspection work. At first the team celebrates AeroMini’s <20 g reference, excluding lens and flange, because it appears to leave room for a small bracket. The complete lens/tailboard assembly still needs to be weighed. Then the cable path forces a second meeting: the pilot wants live view, the recorder wants a stable video feed, and the enclosure opening has already been modeled around the lens.
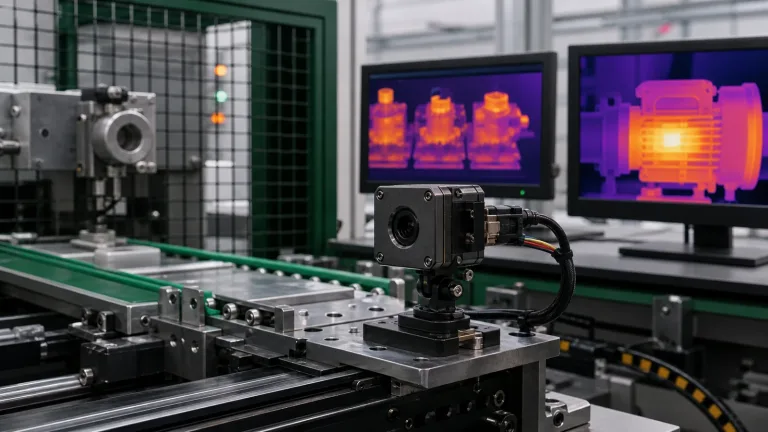
This is why oem cameras should include both size and signal path. The drone thermal camera application page helps frame the aerial payload side. If the same module may later be used in fixed monitoring or service work, the outdoor field thermal imaging page helps distinguish finished handheld observation from an OEM module for the buyer’s own enclosure and host. For a fixed-monitoring RFQ, specify enclosure protection and mounting separately; an exposed module is not a ready fixed-site system.
Interface notes that change the mechanical drawing
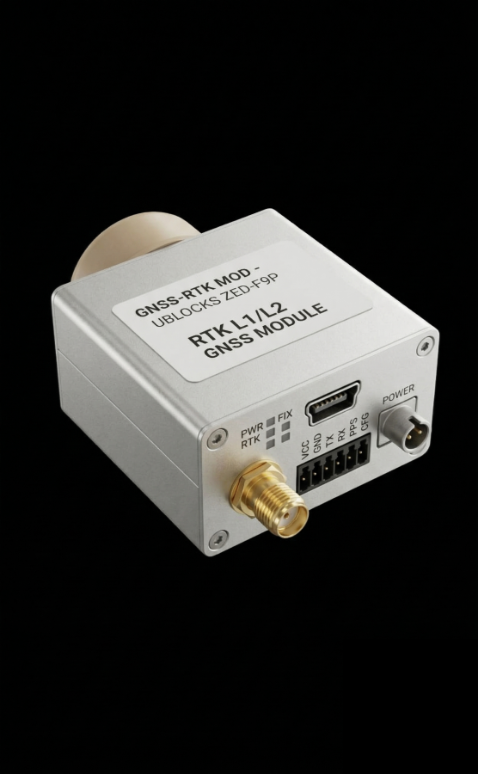
The mechanical drawing is never only mechanical. USB video may make a prototype easier to evaluate, while CVBS analog output on applicable configurations may matter for legacy displays or low-latency field viewing. The selected control interface may need a separate route from video. AeroMini’s USB + CVBS + MIPI tailboard and Type-C + CVBS tailboard have different connectors, cables and clearance needs. If the project moves toward embedded camera links, the MIPI CSI-2 specification page is a useful reminder that camera interfaces are system architecture decisions.
Use the AeroMini datasheet for the illustrated USB/CVBS 16-pin and MIPI/DVP 26-pin references. They apply to the illustrated USB + CVBS + MIPI board, not the Type-C board, and electrical schematics do not establish physical mating orientation. Match the supplied board revision, connector view and cable guide before routing the harness. POWER_IN1 and POWER_IN2 are 5 V inputs, not 12 V inputs. The 16-pin schematic labels RS232; board-dependent UART / RS232 / RS422 family options do not make those pins interchangeable.

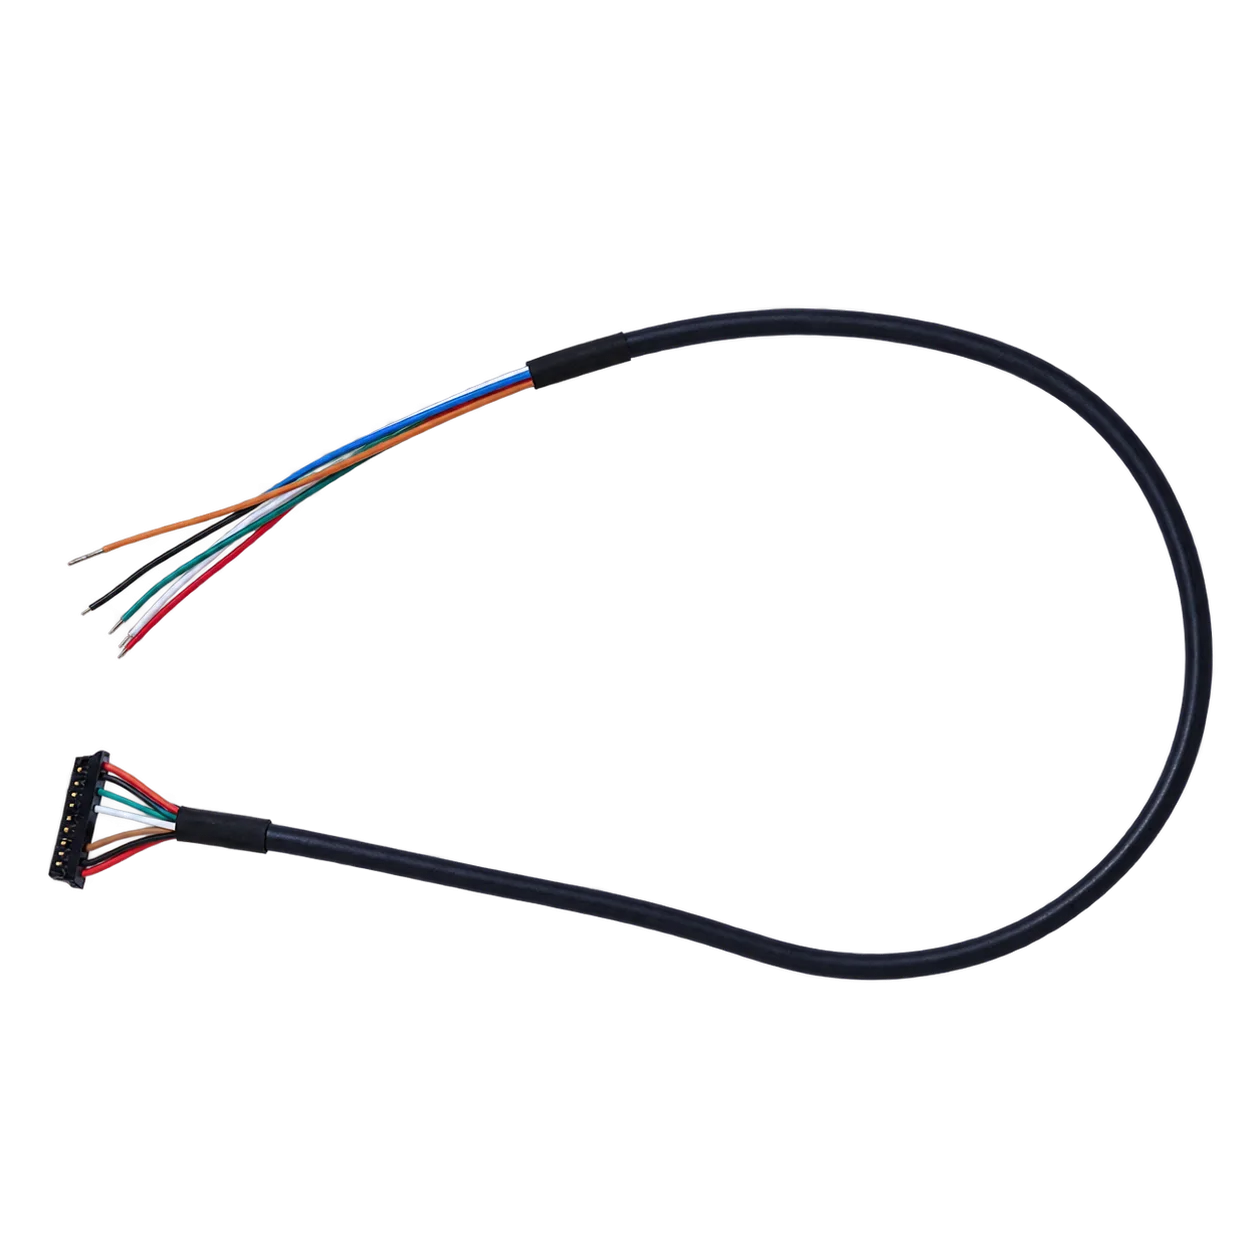
For software evaluation, the AeroMini Linux drivers, examples and SDK FAQ links its developer resources. Match these to the selected AeroMini board, firmware, host, output format and frame rate before sample acceptance; they do not establish a SuperMini software path. For a SuperMini bare-core design, use its own product manual to account for the multiple power rails, 1.8 V UART and external CVBS buffer. Those additional board components also consume enclosure space.
Teledyne FLIR’s drone payload examples show the same field-side lesson: mission use shapes payload decisions. OEM buyers can apply the same mission-first discipline. Define the mission first, then the small-module fit.
For North America procurement, security monitoring, industrial monitoring, or drone inspection projects, add documentation requests early. Ask for applicable NDAA/compliance documents for the exact configuration and have procurement review them for the destination and intended use; document availability and eligibility are not guaranteed. Drawings and available support materials should be requested through support downloads or the contact/RFQ page.
Common mistakes when OEM cameras become tiny modules
Mistake 1: drawing a big imaginary camera body
AeroMini 640 is a compact module. If the CAD or RFQ treats it like a large boxed camera, the integration plan starts from the wrong object. The same risk appears when a bare-core reference is mistaken for a complete lens/tailboard assembly.
Mistake 2: counting only the module weight
The AeroMini <20 g reference excludes the lens and flange. Confirm which parts are included in the supplied assembly mass, then account for the remaining lens, bracket, cable, board, fasteners, potting, and enclosure hardware before approving the payload mass. SuperMini’s <3.5 g bare-core reference likewise excludes optics and expansion boards.
Mistake 3: forgetting cable strain relief
A 21 mm module can still need more room behind it than the body suggests. Confirm cable exit and connector orientation before sample order.
Mistake 4: asking for compliance documents after the sample ships
If an NDAA statement or other procurement document is needed, ask during RFQ for the exact configuration and leave time for procurement review. Documentation timing can slow a project as much as a mechanical mismatch.
RFQ checklist for compact OEM cameras
- Exact product model, imaging or thermographic version, factory frame rate and intended application.
- Required body envelope and matched CAD for the selected lens, tailboard and mounting. AeroMini’s 21 x 21 x 28 mm reference excludes lens and flange; SuperMini’s 13 x 13 x 13.4 mm reference is bare core only.
- Payload weight budget and confirmed assembly mass. AeroMini’s <20 g reference excludes lens and flange; SuperMini’s <3.5 g reference excludes optics and boards. List added parts without double counting.
- Lens/FOV, bracket, enclosure, cable exit, and service access.
- Video output, format and rate for the selected host: USB, CVBS on applicable configurations, or another matched path.
- Exact tailboard, connector view, approved supply and control interface; use the matched wiring guide rather than assuming an RS422 or USB-serial route.
- Operating environment, temperature expectations, enclosure protection and mounting for any fixed installation.
- Documentation needs, including matched drawings, interface resources, sample acceptance criteria and applicable NDAA/compliance evidence for procurement review.
Start with the small module, then build the payload around it
Review the AeroMini 640 lens/tailboard configuration and, if a bare-core design is appropriate, the separate SuperMini 640 / 640T option. Then send CAMCUDA an RFQ that includes matched assembly size, weight budget, interface path, application, and required documentation. A tiny module is useful only when the rest of the system is designed around the same facts.
FAQ about OEM cameras and tiny thermal modules
Are oem cameras the same as thermal camera modules?
No. OEM cameras can mean finished cameras, camera cores, or compact modules. For an AeroMini or SuperMini project, treat the product as a small LWIR module that needs integration.
Why do assembly dimensions matter more than the core-size reference?
A compact reference can fit the initial payload layout while the selected lens, tailboard or connector does not. AeroMini’s published 21 x 21 x 28 mm excludes lens and flange; SuperMini’s 13 x 13 x 13.4 mm is the bare core without optics or expansion boards. Cable exit, bracket, lens clearance and service access must be checked against matched assembly CAD.
Is the published module or bare-core weight the final payload weight?
No. AeroMini’s <20 g reference excludes lens and flange, while SuperMini’s <3.5 g reference excludes optics and boards. The final payload includes the selected assembly, bracket, cable, fasteners and housing. Confirm what is already included before adding accessory mass.
Does the AeroMini 640 support USB video?
Yes, USB video is listed for the product. Confirm the full host and software path during RFQ. Select the USB + CVBS + MIPI or Type-C + CVBS tailboard explicitly, and match its connector, firmware, format and output rate.
Should CVBS be mentioned?
Mention it when analog video, legacy display, recorder, drone transmission, or low-latency monitoring matters. Use careful wording: CVBS analog output on applicable configurations, confirm during RFQ.
When should I request an NDAA statement?
Request it when procurement, security, North America deployment, industrial monitoring, or drone inspection review requires that documentation. Ask for applicable evidence covering the exact configuration, then have procurement assess it for the destination and intended use; do not assume document availability or eligibility.
Which pages should I review before sending the RFQ?
Start with the Featured AeroMini or SuperMini product page and its matching documents, then check the drone thermal camera or outdoor field thermal imaging application page if either deployment fits. The outdoor page separates finished handheld viewers from OEM modules for your own enclosure; fixed monitoring still needs its own protection and mounting specification.
What is the biggest sample-order mistake?
Ordering based only on resolution and price. A better RFQ includes size, weight, lens/FOV, video path, control path, documents, and acceptance criteria.